Getting a professional balustrade installation quote is often the moment the DIY idea is born. A number lands in your inbox — R20,000, R25,000, R35,000 — and suddenly the idea of doing it yourself starts to feel less like a weekend project and more like a serious financial decision.
But before you decide which route to take, it’s worth understanding exactly what that professional quote is made up of. Because the truth is, the materials cost roughly the same whether a professional installs them or you do. What changes is everything else that sits on top — and that’s where the real difference lies.
This post breaks down what’s in a professional installation quote, what you’d actually be taking on if you chose to DIY, and how to decide honestly which option is right for you.
What a Professional Quote Is Actually Made Of
A professional balustrade installation quote is not just a price for materials. It’s a bundled price that covers several layers of cost — some obvious, some less so.
The materials
The stanchions, tubing, fittings, fixings, and handrail components are priced at trade or retail rates. This is the same underlying material cost you’d pay if you sourced directly from a supplier. In most cases, a professional won’t be buying materials significantly cheaper than you would — they’re purchasing from the same supply chain.
Labour
This is the dominant cost driver. A professional installer typically charges for:
- The initial site visit and measurement
- Fabrication time — cutting tubing to length, preparing components
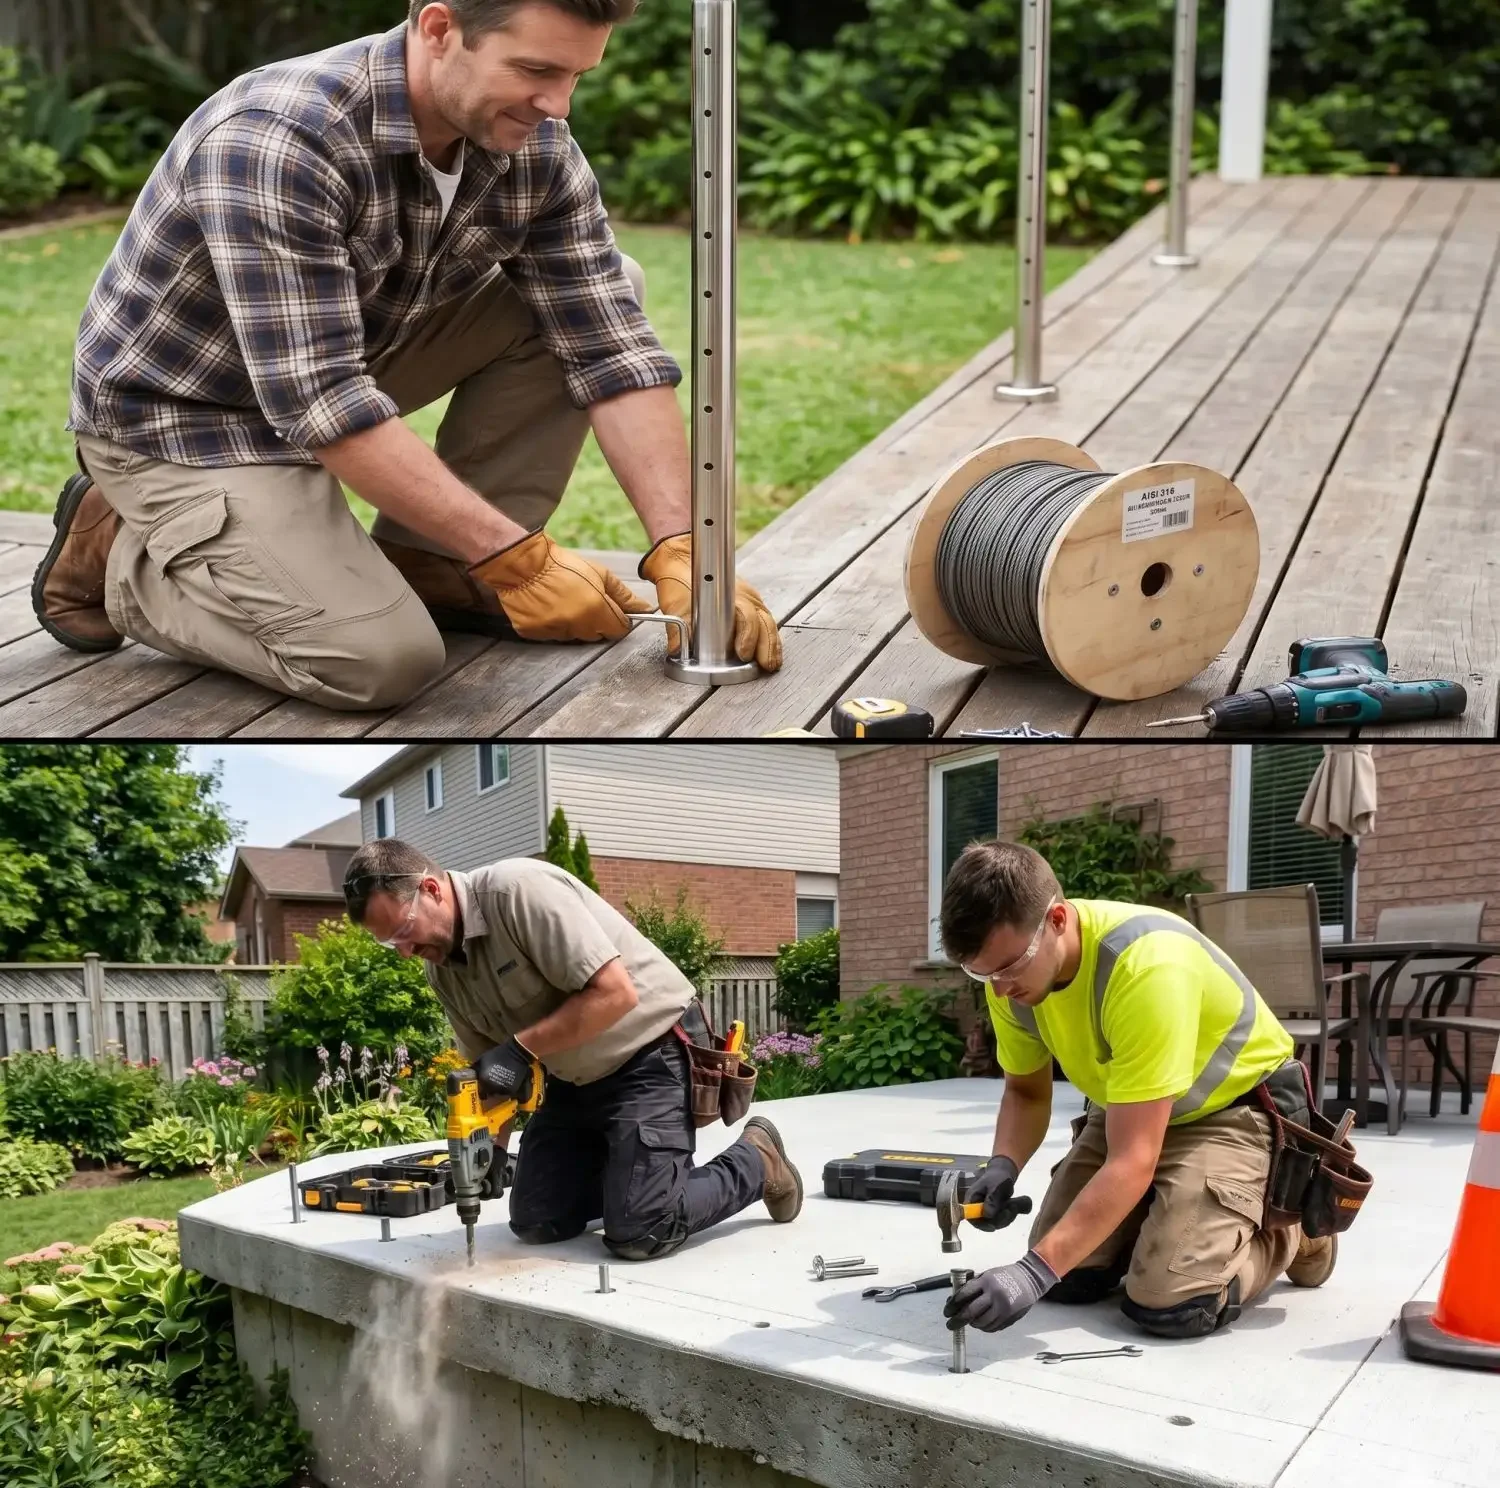
- The installation itself — drilling, anchoring, levelling, tightening
- Travel and logistics to and from site
On a standard 10-metre deck balustrade, a two-person team will typically spend a full day on site, plus preparation time off-site. At professional hourly rates, this adds up quickly — and you’ll be paying for every minute of it.
Overheads and business costs
Every legitimate installation business carries costs beyond labour: vehicles, fuel, specialist tools, public liability insurance, workers’ compensation, business premises or admin costs, and marketing. These overheads are built into the rate — which is entirely reasonable. Running a professional installation business is expensive, and those costs have to be recovered somewhere.
Profit margin
On top of materials, labour, and overheads, a professional installer will apply a profit margin — typically in the range of 25–40% on the combined total. This is not a hidden charge; it’s simply how any business operates. But it does mean that the further you are from the materials-only cost, the more of the quote you’re paying in margin.
VAT
At 15%, VAT applies to the full invoice — materials, labour, overheads, and margin. When you DIY, you pay VAT on components only. The VAT difference alone on a large project can run to several thousand rand.
The Cost Comparison: A 10-Metre Straight Deck Balustrade
To make this concrete, here’s how the numbers stack up on a standard 10-metre straight balustrade using round tube infill in 304 stainless steel — typical for an inland or non-coastal residential project:
| Cost Element | DIY Supply (est.) | Professional Install (est.) |
| Components (stanchions, tubing, fittings) | R6,000 – R10,500 | R6,000 – R10,500 |
| Labour & installation | R0 (your time) | R8,000 – R18,000 |
| Installer overheads & profit margin | R0 | R3,000 – R8,000 |
| VAT | On components only | On the full amount |
| Total estimated cost (10m straight run) | R6,000 – R10,500 | R18,000 – R35,000+ |
Note: Figures are illustrative estimates for a standard straight run in 304 stainless steel. Actual costs vary based on infill style, material grade, site conditions, and project complexity.
The materials cost is identical in both columns. The entire gap between the two totals — often R10,000 to R25,000 on a standard project — is labour, overheads, margin, and VAT on the full amount. That’s what you’re paying for when you hire a professional. And as you’ll see below, it’s genuinely worth it for many homeowners.
What You Actually Get With Professional Installation
The extra cost isn’t arbitrary. When you hire a professional installer, you’re buying several things that have real value.
Certainty of outcome
An experienced installer has done this dozens or hundreds of times. They know how to handle unlevel surfaces, awkward corner configurations, and structural anomalies. They’ve made the expensive mistakes before — so you don’t have to. The result is a finished balustrade that looks exactly as it should, every time.
No component sourcing or logistics
A professional handles everything: measurement, specification, sourcing, and delivery. You don’t have to spend hours working out which fittings are compatible, what lengths of tubing you need, or whether you’ve remembered to account for the end caps. You don’t have to worry about the hardware store run when something is missing from the delivery. The professional manages all of it.
No risk of a costly ordering mistake
Measuring incorrectly, ordering the wrong grade of stainless steel for a coastal environment, specifying the wrong stanchion spacing, or forgetting a critical fitting — these are all genuine risks when you’re specifying a balustrade for the first time. A professional carries this risk, not you. If something’s wrong, it’s their problem to fix.
Time savings that genuinely matter
DIY always takes longer than the optimistic estimate. Research, planning, ordering, waiting for delivery, installation, troubleshooting, and finishing touches add up. For a homeowner with a demanding career or a busy family schedule, freeing up a full weekend — or two — is worth real money. There’s no guilt about a project that’s sat half-finished for three weeks because life got in the way.
Guaranteed workmanship
A reputable installer will stand behind their work. If a post comes loose or a fitting fails within a reasonable period, it’s their responsibility. DIY doesn’t come with that assurance — if something goes wrong six months later, you’re fixing it yourself.
What DIY Actually Involves
It’s easy to underestimate the full scope of a DIY balustrade project. Most people think about the installation itself — drilling, assembling, tightening. But that’s only the last step of a process that starts much earlier.
The research phase
Before you can order anything, you need to understand the product system well enough to specify it correctly. That means learning what stanchion spacing is permissible under SANS 10400-M, what the difference is between 304 and 316 grade stainless steel and why it matters for your location, what a mid-rail is and whether your design requires one, and how to calculate linear metres of infill tubing for your specific stanchion positions.
For someone with no prior experience, this research phase can take a full weekend on its own — reading guides, watching installation videos, and cross-referencing product specifications to make sure everything is compatible.
Measurement and specification
Getting the measurements right is arguably the highest-stakes part of the DIY process. One incorrect measurement can mean ordering the wrong quantity of tubing, cutting stanchions to the wrong height, or discovering mid-installation that your stanchion spacing leaves you with an infill gap that doesn’t comply with the regulation maximum.
This is where first-time DIYers are most likely to run into trouble — not because the measurements are inherently complicated, but because there’s no experienced eye to catch a mistake before it becomes a costly one.
Ordering — and the risk of getting it wrong
Once you’ve specified your components, you place your order. If you’ve measured correctly and your specification is right, the delivery arrives and installation can begin. But if you’ve missed a fitting, underestimated your tube quantities, or ordered the wrong grade, you’re looking at a second order, an additional delivery wait, and a project that stalls mid-installation.
This isn’t a hypothetical. It’s a common experience for first-time DIYers, and it’s one of the hidden costs of the DIY route that doesn’t show up in any cost comparison table.
The installation itself
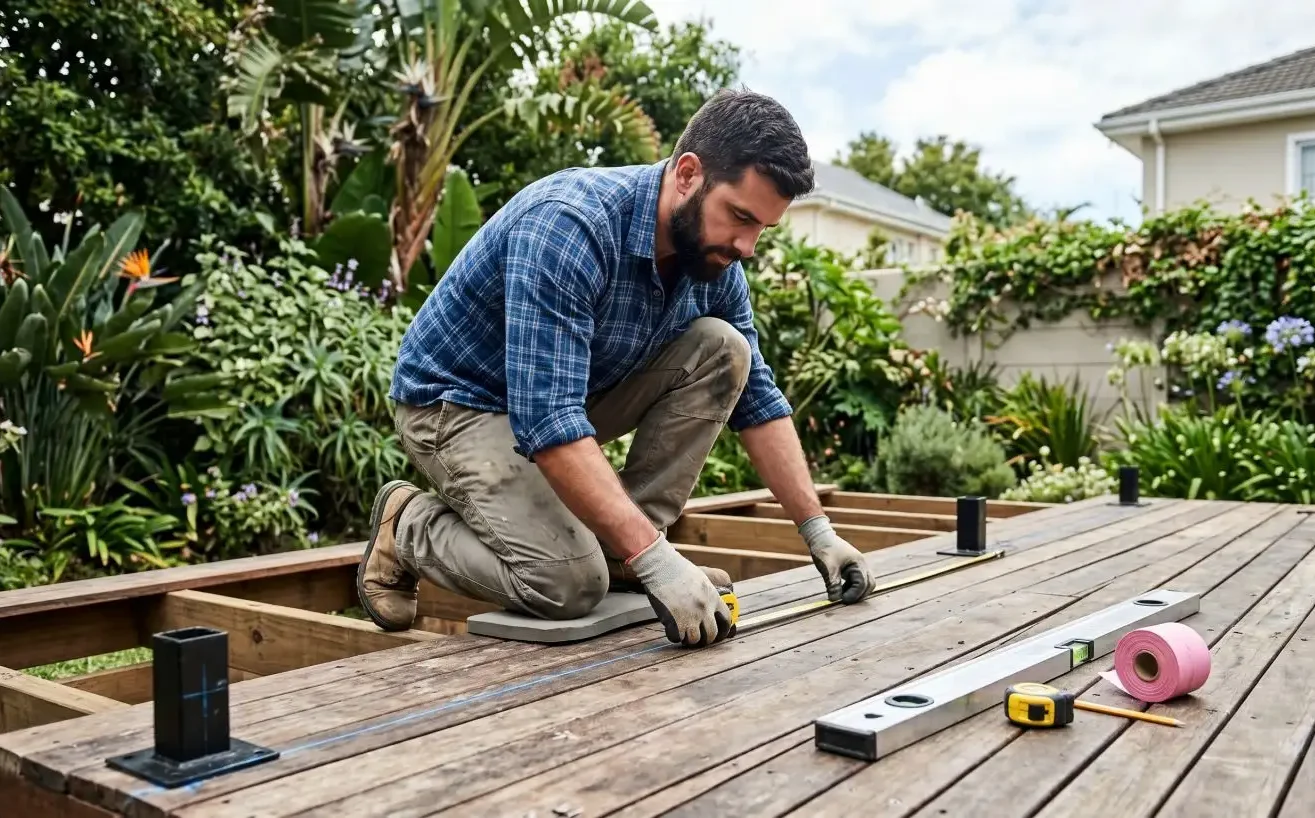
The good news is that the physical installation of a bolt-down stanchion balustrade system is genuinely manageable for a capable homeowner. There’s no welding required. Every component connects mechanically. The tools you need — a drill, a spanner, a spirit level, and a tape measure — are standard kit for anyone who takes DIY seriously.
That said, the margin for error during installation is real. Getting stanchions perfectly plumb and evenly spaced takes patience. Cutting infill tubing to the right length without the right setup produces inconsistent results. Achieving a result that looks as clean and intentional as a professional installation requires attention to detail that some first-timers underestimate.
It’s absolutely doable. People complete successful DIY balustrade installations every week. But ‘doable’ and ‘easy’ are not the same thing, and it’s worth being honest about the difference before you commit.
The Time Cost Is Real — And It’s Worth It If You’re Willing
A realistic time estimate for a first-time DIY balustrade installation on a 10-metre straight run looks something like this:
- Research and planning: 4–8 hours
- Measurement and specification: 2–3 hours
- Ordering and delivery wait: 3–7 working days
- Installation day: 6–10 hours (working alone) or 4–6 hours (with a capable helper)
- Finishing, adjustments, and clean-up: 1–2 hours
That’s the better part of two weekends invested, plus the waiting period for delivery. For some homeowners, this is genuinely enjoyable — the satisfaction of completing a project of this nature has real value, and plenty of people take pride in the result in a way that a paid installation simply wouldn’t deliver.
For others, it’s two weekends they’d rather spend with family, on other projects, or simply not stressed about whether they’ve ordered enough elbow fittings. That’s not a criticism — it’s an honest assessment of how different people value their time.
The financial saving is real and significant. Whether it’s worth the effort depends entirely on you.
So, Which Route Is Right for You?
There is no universally correct answer, and anyone who tells you otherwise is either trying to sell you something or hasn’t thought about it carefully. Here’s a straightforward framework:
Professional installation makes sense if:
- The cost difference is not the primary concern — your time and peace of mind are worth more to you than the savings
- Your project involves complexity: curved sections, multi-level stairs, heritage structures, or non-standard configurations
- You want a guaranteed result with no responsibility for specification errors, missed components, or installation quality
- You don’t have the time or inclination to work through a research-intensive specification process
- You simply prefer to pay someone else and have it done properly
DIY makes sense if:
- The potential saving of R10,000–R25,000 is significant to you and worth the investment of time
- You genuinely enjoy DIY projects and take satisfaction in completing them well
- Your project is a straightforward straight or right-angle run without complex fabrication requirements
- You have the patience and attention to detail to work through a specification carefully
- You’re comfortable using power tools and working methodically
The honest summary: if money is no object and you want the path of least resistance, hire a professional. The premium is entirely justified by the convenience, certainty, and time you get back. If the saving matters — and for most homeowners it does — DIY is entirely viable, but it deserves more respect as a process than the phrase ‘just do it yourself’ implies.
A Note on Getting Both Options Quoted
The most informed decision you can make is one where you have both numbers in front of you. A professional installation quote tells you what the convenience costs. A DIY component estimate tells you what the materials alone will set you back. The gap between the two is what you’re either saving or spending, depending on your choice.
Both routes lead to the same end result: a balustrade that looks the part, keeps your family safe, and adds genuine value to your property. The only real question is how much of the process you want to own yourself.
Balustrader supplies components for DIY projects and offers professional installation in the Cape Town area. If you’d like to know what your project would cost either way, request a free DIY Estimate at www.balustrader.co.za — submit your measurements and we’ll put together a full specification and price.
sales@balustrader.co.za | +27 64 044 1440 | www.balustrader.co.za | Mon–Fri 08:00–17:00


