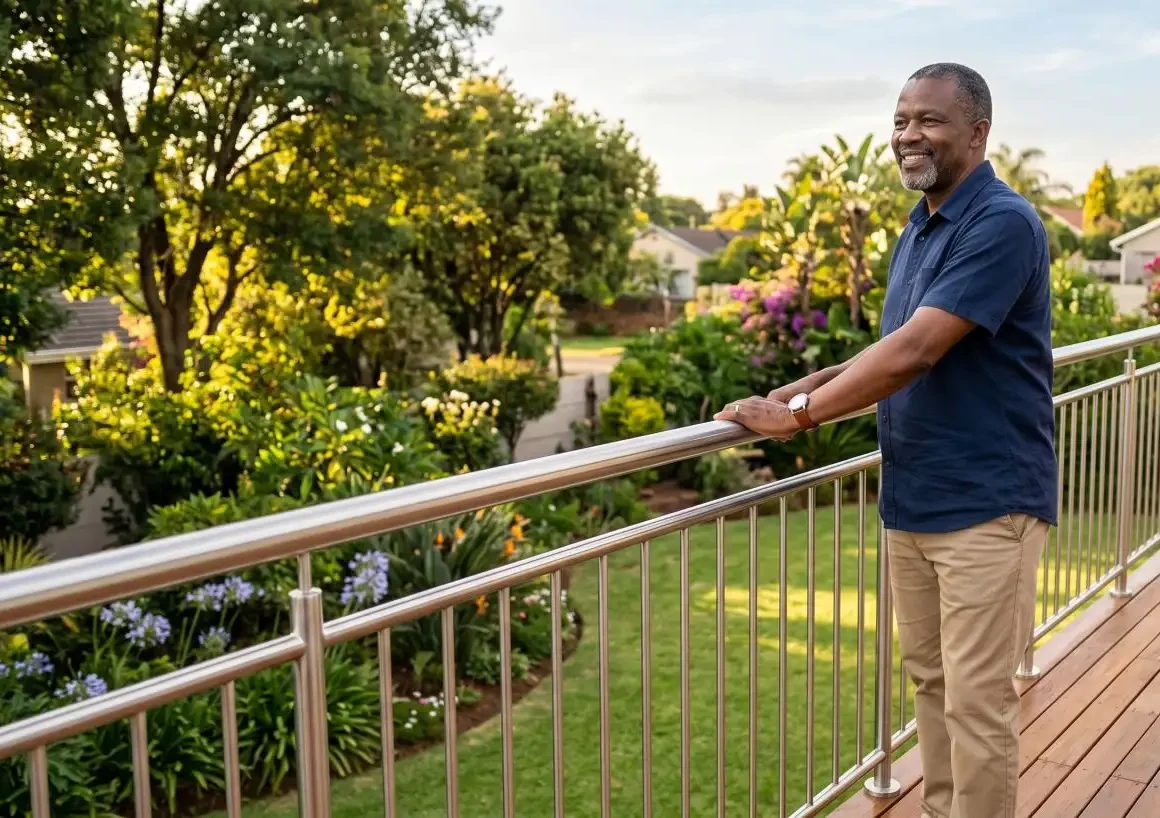
The question almost every DIY homeowner asks before committing to a balustrade project is whether it fits in a weekend. The honest answer is: the installation itself usually does — but the full project timeline is longer than that, and understanding why helps you plan properly and avoid the frustration of avoidable delays.
This post maps out every phase from the first measurement through to final tightening, with realistic time estimates for each. It is not an installation guide — it is a project planning framework. Use it to set expectations, schedule your weekends accurately, and make sure you are not standing on a half-finished deck waiting for components that should have been ordered a week earlier.
The Full Project Timeline at a Glance
A standard residential balustrade installation — 8 to 15 linear metres, straight run, bolt-down stanchions, round tube or cable infill — typically runs across two to three weeks from first measurement to finished installation. The installation itself takes one to two days. The weeks in between are not delays — they are the lead time for manufacturing and delivery, and they are time you use to prepare.
| Phase | Time required | Notes |
| Measuring and planning | 2–4 hours | Done in one sitting; can be spread across an evening |
| Ordering components | 30–60 minutes | Online or via Balustrader email/phone |
| Manufacturing and delivery | 10–15 working days | Balustrader lead time; plus 2–3 days courier |
| Site preparation | 2–4 hours | Marking positions, checking substrate, gathering tools |
| Installation — Day 1 | 4–6 hours | Drilling, anchoring, and setting stanchions |
| Anchor cure time (epoxy fix) | 24 hours minimum | Do not load stanchions before cure is complete |
| Installation — Day 2 | 2–4 hours | Threading infill, fitting hardware, final tightening |
| Final check and clean-up | 1–2 hours | Torque check, alignment review, surface clean |
Times above are for a competent DIY homeowner on a standard straight run of 8–15 metres. Staircases, corners, cable tensioning, and glass infill each add time. First-time installers should add 25–30% to installation estimates.
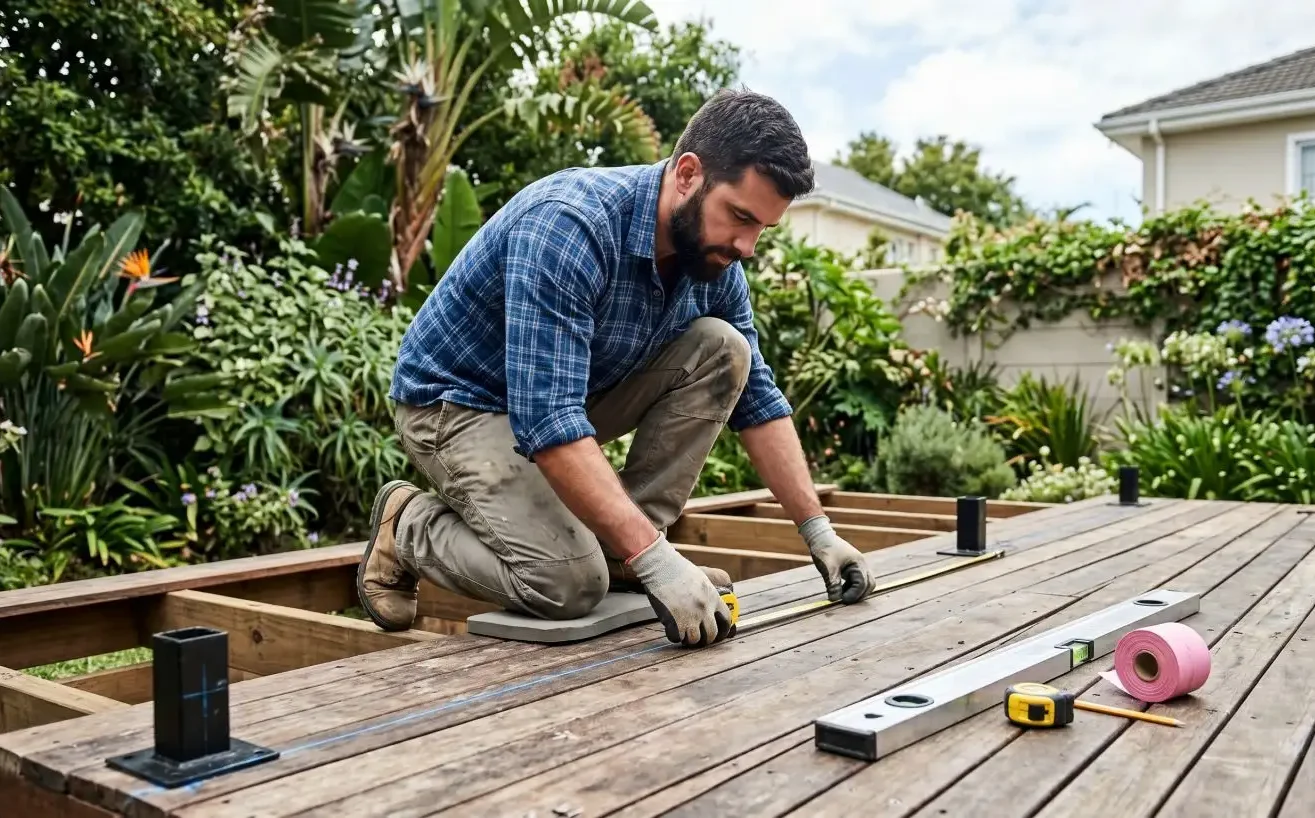
Phase 1: Measuring and Planning (2–4 Hours)
Accurate measurement is the foundation of the entire project. Get this wrong and you will either have components left over or, worse, find yourself short mid-installation with no way to proceed until a second order arrives.
Set aside a proper block of time for this phase — two to four hours for a standard project. Rushing the measurement is false economy. Take the time to walk the full run, mark the start and end points, note any changes in direction or level, and measure the total linear metreage carefully.
What to measure and record
- Total linear metreage — Measure the full length of each straight section separately, then add them together. Do not measure in one long diagonal if the run has corners.
- Height of the fixing surface — Balustrades fixed to an elevated deck or balcony may have a different substrate height than those fixed at ground level. Note this as it affects stanchion height selection.
- Substrate type — Timber decking, concrete slab, paving, or steel structure. Each requires a different fixing method and anchor type. This affects which consumables you order.
- Stanchion spacing — Your chosen spacing determines how many stanchions you need. Standard spacing is typically 1,000mm to 1,200mm between post centres for round tube infill. SANS 10400-M governs the maximum infill gap, not the post spacing directly — but your spacing must produce infill gaps of no more than 100mm.
- Any staircase sections — Measure staircase runs separately. Note the rake angle if possible, as this affects fitting selection.
Once you have your measurements, contact Balustrader’s team to request a free DIY Estimate. Submit your figures and they will return a confirmed component list. This step typically takes a day or two of back-and-forth and is worth doing before you finalise your order — a second set of eyes on the component list before it goes into production prevents expensive mistakes.
Phase 2: Ordering (30–60 Minutes)
Once your component list is confirmed, placing the order itself is quick. Allow 30 to 60 minutes to review the list, confirm quantities, check that all required consumables are included, and submit the order.
A point worth making here: do not order in a rush. Read through the component list line by line before confirming. Check that the stanchion count matches your spacing calculation, that the tube lengths will cover your run with sensible offcuts, and that all hardware and fixing components are included. It is far easier to add an item before the order goes to production than to arrange a supplementary order later.
Phase 3: Manufacturing and Delivery (Two to Three Weeks)
This is the phase that most catches first-time buyers off guard. Balustrader’s stainless steel components are not off-the-shelf stock items in the way that timber or paint are. Pre-drilled stanchions are manufactured to your specification — the infill holes are drilled to the correct diameter and position for your chosen tube size. This takes time to do properly.
Allow 10 to 15 working days for manufacturing, plus two to three working days for courier delivery to your door. That is typically two to three calendar weeks from order confirmation to components on site.
This is not downtime. Use this period productively.
What to do while you wait
- Mark your stanchion positions — Using your planned spacing, mark all stanchion centre points on the substrate with a chalk line and pencil. Having this done before components arrive means you can go straight to drilling on installation day.
- Check your tools — Run through the tool checklist and confirm everything is in working order. Arrange hire for anything you do not own and need for your specific project.
- Prepare your substrate — If there is old paint, sealant, or surface coating at the anchor points, remove it now. A clean surface produces a better anchor seat.
- Read the installation guide — Balustrader provides installation guidance for each project type. Reading it before the components arrive means your first installation day is not also your first encounter with the process.
- Arrange delivery access — Make sure someone is available to receive the delivery. Stainless steel tube is long and requires a signature in most cases. Missed deliveries add days.
Phase 4: Site Preparation (2–4 Hours)
Site preparation is a half-day task that pays dividends on installation day. If you have already marked your stanchion positions during the wait period, this phase is largely a final check and a tool-gathering exercise.
What site preparation involves
- Confirm stanchion positions — Walk the marked positions and double-check spacing and alignment with a tape measure and chalk line. It is much easier to adjust a chalk mark than a drilled hole.
- Check substrate condition at each anchor point — Look for cracks, hollow sections, or soft areas in concrete. Avoid positioning stanchions over expansion joints. On timber decks, confirm that the decking boards at each anchor point are structurally sound and properly supported by a joist beneath.
- Gather and stage tools and consumables — Lay out everything you need for the installation in a logical order. Having to search for a drill bit or a tube of chemical anchor mid-installation is the kind of interruption that doubles the time a task takes.
- Pre-drill anchor holes if substrate allows — For concrete and masonry installations where stanchion positions are fixed, you can pre-drill all anchor holes before components arrive. This is not always practical on timber deck installations where the final position may need minor adjustment.
Phase 5: Installation — Day 1 (4–6 Hours)
Day 1 is the most physically demanding part of the project. You are drilling anchor holes, setting chemical anchors, positioning stanchions, and fixing them to the substrate. At the end of Day 1, all posts should be anchored in position and the anchor curing process should be underway.
What happens on Day 1
- Drill anchor holes — Using your hammer drill and the correct masonry bit, drill to the depth specified by your anchor manufacturer. Clean swarf from each hole with a brush or compressed air before inserting the anchor.
- Set chemical anchors — Follow the anchor manufacturer’s instructions for injection and rod insertion. Most two-part epoxy anchors require a short mixing purge before use. Insert the anchor rod to the correct depth and allow to cure — do not disturb the rod while curing.
- Position and level each stanchion — Once anchors are cured (or using mechanical anchors), position the stanchion base plate over the anchor rod, check plumb on two axes with your spirit level, and tighten to the specified torque.
- Work along the run in order — Start at one end and work methodically to the other. Check alignment across the full run regularly as you progress — it is easier to correct a slightly off-plumb post before the adjacent posts are fixed than after.
A 10-metre run of 10 stanchions, working at a steady pace with all materials to hand, typically takes four to six hours for a first-time installer. Experienced installers will complete the same run in three to four hours.
Phase 6: Anchor Cure Time (Minimum 24 Hours)
If you are using chemical epoxy anchors — which are the recommended fixing method for concrete and masonry substrates — this phase is non-negotiable. Epoxy anchors must cure fully before any load is applied to the stanchion.
The cure time varies by product and ambient temperature. Most products specify a minimum of 24 hours at temperatures above 20°C; lower temperatures extend the required cure period. Check the specific anchor product’s data sheet for the exact cure time.
Do not thread infill tubing or apply any lateral load to the stanchions during this period. The anchor rod is not bonded to the substrate until curing is complete, and loading it prematurely will compromise the finished installation’s structural integrity.
This cure period is why the installation runs across two days. It is not a delay — it is the correct process. Use the time to prepare the infill components, cut tube to length, and stage the Day 2 hardware so you can move efficiently when the cure period is done.
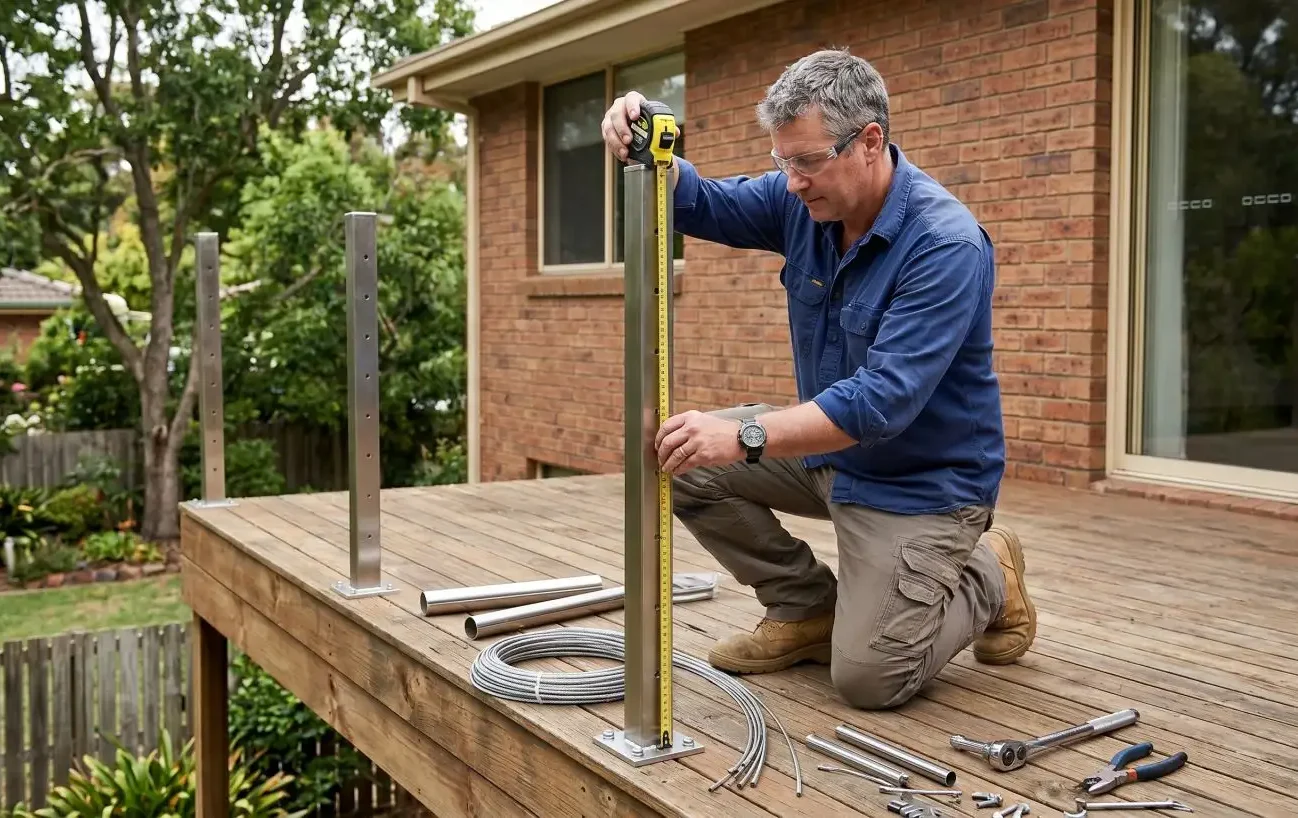
Phase 7: Installation — Day 2 (2–4 Hours)
Day 2 is the satisfying part. The structure is in place. You are now threading infill, fitting hardware, and bringing the installation to its finished state.
What happens on Day 2
- Thread infill tubing or cable — For round tube systems, thread each tube through the pre-drilled stanchion holes from one end of the run. For cable systems, run the wire rope through the cable fittings and attach the end terminals. Work from the bottom rail up.
- Fit end caps and closing hardware — Knock-in or weld-on end caps are fitted to exposed tube ends. Handle fittings, if used, are fitted and tightened.
- Tension cable (cable infill only) — Use your cable tensioners to bring each cable to the correct tension, verifying with a tension gauge. Work along the run systematically — tensioning one end before the other is partially tensioned can produce uneven loading across the stanchions.
- Fit the top rail — The top rail is the final structural element and is threaded through or clamped to the stanchion tops depending on your fitting type.
- Final tightening and torque check — Work along the full run with your torque wrench, confirming that every stanchion base plate fixing and all threaded fittings are tightened to specification.
Phase 8: Final Check and Clean-Up (1–2 Hours)
Do not skip this phase. A final inspection before you consider the project complete is the step that separates a properly finished installation from one that will cause problems later.
What the final check covers
- Alignment — Step back and view the full run from both ends and from the side. Check that the top rail is level, all stanchions are plumb, and the infill is evenly spaced. Minor alignment issues are far easier to correct before you pack away the tools.
- Infill gap check — Confirm that no infill gap exceeds 100mm at any point along the run. SANS 10400-M requires this; it is also a basic safety standard for any balustrade where children may be present.
- Torque check — Run the torque wrench along all fixings one final time. Stanchions that have been under any load during Day 2 work can occasionally settle slightly.
- Surface clean — Wipe down all stainless steel surfaces with a clean damp cloth to remove any chalk marks, fingerprints, drilling dust, or cutting residue. For a brushed satin finish, wipe in the direction of the grain. Avoid abrasive cloths on polished surfaces.
- Check for any sharp edges — Run a gloved hand along all tube ends and fitting edges. Any sharp burr missed during the cut-dressing phase should be addressed with a fine flap disc before the installation is used.
What Makes a Project Take Longer
The timeline above assumes a standard straight run under normal conditions. Several factors will add meaningful time and should be planned for if they apply to your project.
- Staircases — A staircase handrail run requires raked fittings and more precise angle-setting for each post. Add half a day to the Day 1 estimate for a standard staircase section alongside a flat deck run.
- Multiple corners — Each corner requires additional components and more careful alignment between adjacent sections. Allow an extra 45 to 60 minutes per corner.
- Cable infill — Cable tensioning is more time-consuming than tube threading, and verifying tension across the full run requires methodical work. Add two to three hours to the Day 2 estimate for a cable installation.
- Hard substrate — Drilling into very hard aggregate concrete or stone takes longer than average and will blunt drill bits faster. Have spare bits on hand and allow extra time.
- First-time installer — If this is your first balustrade installation, every task will take longer than the estimates above as you work through the process for the first time. Add 25 to 30 per cent to the Day 1 and Day 2 estimates and plan your schedule accordingly. The second installation will go noticeably faster.
- Access and working height — Working at height on a balcony or elevated deck requires more care and takes longer than ground-level work. Ensure you have stable access and a clear working platform before you start.
Can You Really Do It in a Weekend?
Yes — with the right preparation. A weekend installation is achievable for a standard 8 to 12 metre flat run, provided the site preparation is complete before Saturday morning and all components and consumables are on site.
The realistic weekend schedule looks like this: Saturday morning — drill anchor holes and set chemical anchors by midday. Saturday afternoon — allow cure time, cut and stage infill components, prepare hardware. Sunday morning — thread infill, fit hardware, final tightening and inspection. By Sunday afternoon, the installation is complete and the tools are packed away.
What makes a weekend installation fail is almost always a preparation gap: components that have not arrived, a tool that needs to be hired and is not available on a Sunday, or anchor holes drilled before the correct anchor product was on hand. The preparation phases — measuring, ordering on time, and site preparation — are what make the weekend installation possible. They are not optional steps you can compress.
| The weekend installation checklist Three weeks before: Measure accurately and submit your DIY Estimate request. Two weeks before: Confirm and place your component order. One week before: Confirm delivery is on track; gather and check all tools. Thursday/Friday: Mark all stanchion positions; stage tools and consumables. Saturday: Drill, anchor, and set stanchions by midday. Allow cure time. Sunday: Thread infill, fit hardware, final tightening and inspection. |


