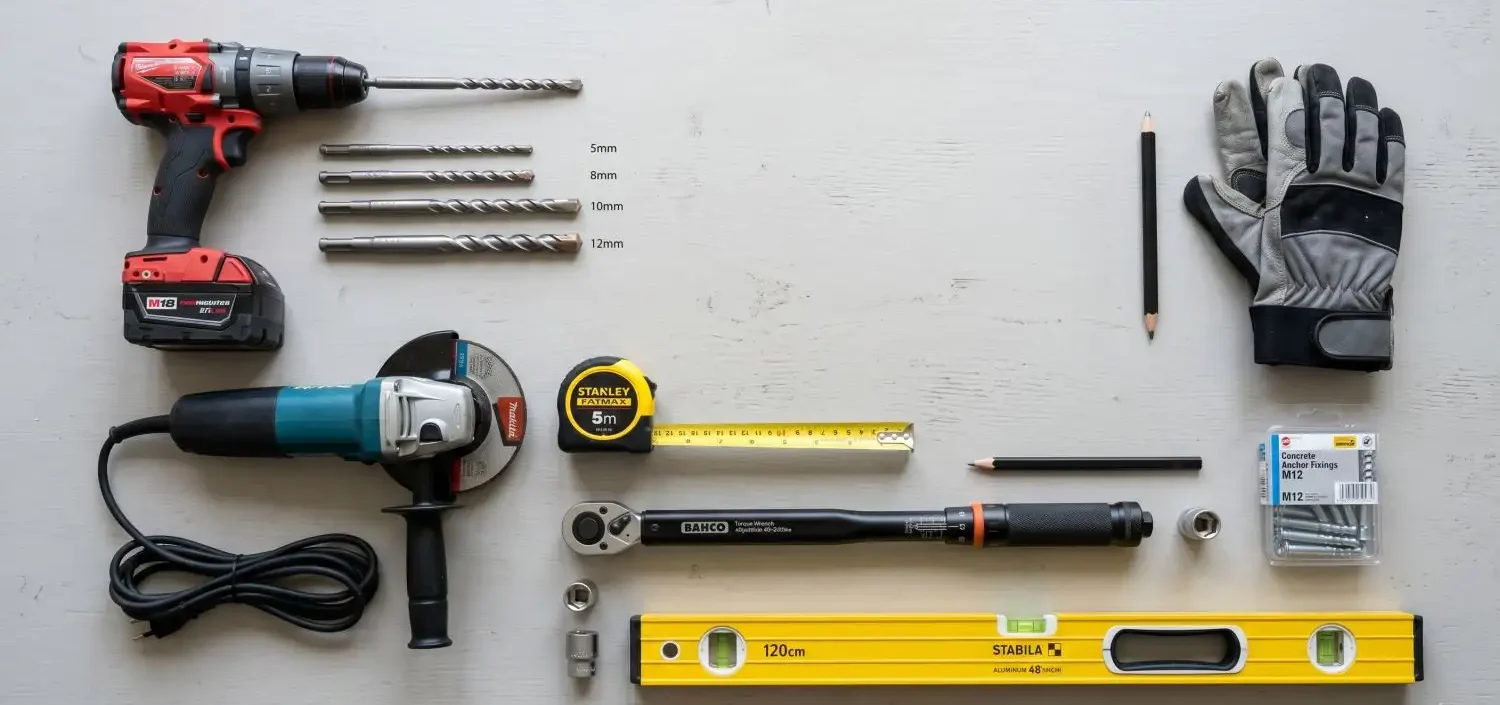
One of the most common questions before a first DIY balustrade installation is: do I actually have what I need to do this? It is a fair question, and the honest answer is that most competent DIY homeowners are closer than they think.
A stainless steel balustrade installation using bolt-down stanchions does not require welding, fabrication, or specialist workshop equipment. What it does require is a specific set of tools used correctly — and knowing exactly what that list looks like before you start prevents the frustrating mid-project trip to the hardware shop.
This guide covers every tool you will need, broken down by what is worth owning, what makes more sense to hire, and what consumables you need to have on hand before the first drill bit goes into the substrate.
The Full Tool List at a Glance
Before going into detail on each tool, here is the complete reference table. Use this to audit what you already have before placing your component order.
| Tool | Own or hire? | Essential for | Notes |
| Hammer drill or SDS drill | Own | All installations | Essential for anchor holes in concrete or masonry |
| Angle grinder | Own | All installations | Cutting tube to length; cleaning cut ends |
| Spirit level (600–1200mm) | Own | All installations | Plumb posts and level top rail |
| Tape measure (5m+) | Own | All installations | Layout, spacing, and height checks |
| Torque wrench | Own | All installations | Correct fastener torque — do not skip |
| Combination spanner set | Own | All installations | Tightening fittings and stanchion hardware |
| Marker / chalk line | Own | All installations | Marking stanchion positions accurately |
| Masonry drill bits | Own | Concrete / masonry fix | Matched to anchor diameter — replace when blunt |
| HSS metal drill bits | Own | Timber deck installations | For pilot holes into hardwood decking |
| Hole saw (38.1 or 50.8mm) | Hire | Tube-through-post systems | Only needed for certain fitting styles |
| Hydraulic cable crimper | Hire or buy (Balustrader) | Cable infill only | Swages end fittings onto wire rope |
| Cable tension gauge | Hire | Cable infill only | Verifies cable tension meets SANS 10400-M |
| Rubber mallet | Own | General assembly | Seating knock-in end caps and fittings |
| Safety glasses and gloves | Own | All installations | Non-negotiable when grinding or drilling |
Hire recommendations above assume a once-off residential project. Homeowners undertaking multiple projects or a semi-professional contractor will find outright purchase more cost-effective over time.
The Tools You Cannot Do Without
Hammer Drill or SDS Drill
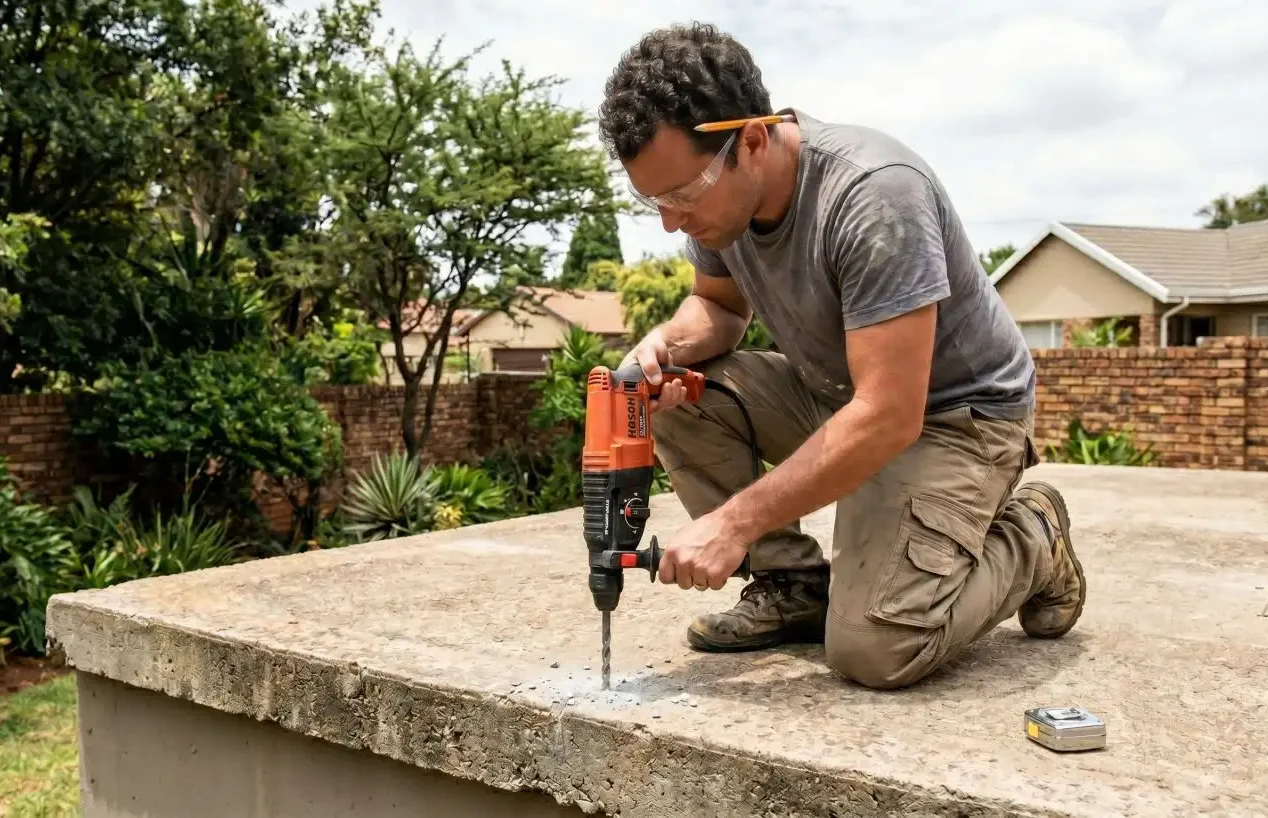
This is the single most important tool on the list. Most residential balustrade installations fix stanchion base plates to concrete, stone, or masonry — and drilling accurate anchor holes into these substrates requires a hammer drill or, for harder materials, an SDS drill with a rotary hammer action.
A standard cordless drill does not cut it for masonry anchor holes. The hammer action is what breaks up the aggregate as the bit advances, and without it you risk wandering holes, undersized anchors, and a stanchion that will not hold the required load under SANS 10400-M.
Most DIY homeowners already own a decent hammer drill. If yours is an older model with a worn chuck or inconsistent hammer action, this is the one tool worth hiring a quality replacement for — correct anchor holes are structural, not cosmetic.
Bit diameter must match your chosen anchor. Check your chemical fix or mechanical anchor specification before drilling — the tolerance is tight and an oversized hole will undermine the anchor’s holding strength.
Angle Grinder
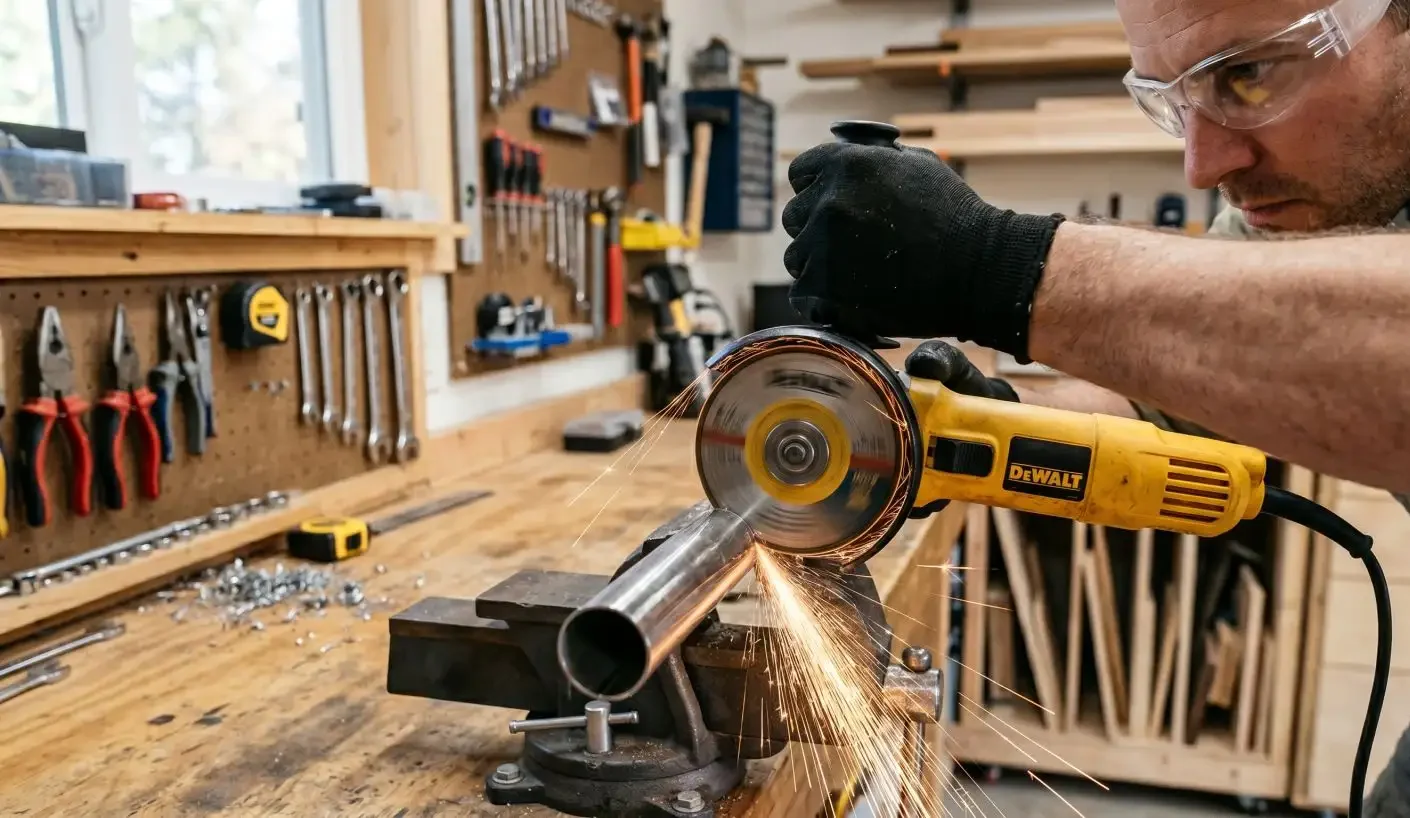
You will need an angle grinder to cut stainless steel tubing to length. Standard stainless steel tube will not cut cleanly with a hacksaw — the result is a ragged burr that is difficult to dress and will catch and scratch during fitting assembly.
A 115mm or 125mm angle grinder fitted with a stainless steel cutting disc produces a clean, square cut that can be dressed with a flap disc in a few passes. The key point with stainless steel is to use discs specifically rated for stainless — standard cutting discs for mild steel will contaminate the cut surface and cause rust staining over time.
Balustrader stocks cutting discs and abrasive flap discs suitable for stainless steel work. Having the correct consumables on hand before you start saves a wasted trip and ensures the finish quality you are working towards.
Spirit Level
A long spirit level — ideally 1,000mm to 1,200mm — is essential for two things: setting each stanchion plumb during fixing, and checking the top rail is level across the full run before final tightening.
A plumb stanchion is not just aesthetic — an out-of-plumb post under lateral load distributes force unevenly to the anchor points. Over a long run of posts that are all slightly off-plumb in the same direction, the cumulative effect on the top rail alignment is also significant.
A short 300mm level is not adequate for this work. If you do not own a 1,000mm level, it is inexpensive to buy and will earn its place on every future home improvement project.
Tape Measure and Chalk Line
Accurate layout before drilling is the difference between a run that looks professional and one that does not. A 5-metre tape measure is the minimum; 8 metres is more practical for longer runs.
Mark all stanchion centre positions on the substrate before you drill the first hole. A chalk line stretched between your start and end points gives you a straight reference to measure from and confirms your spacing is consistent before any commitment is made. Once you have drilled the first hole, you are committed to that line.
Torque Wrench
This one surprises people. A torque wrench is not optional for balustrade installation — it is how you confirm that anchor bolts and stanchion fixings are tightened to their specified value, neither under-torqued (which leaves the fixing loose) nor over-torqued (which can crack masonry, strip threads, or damage the base plate).
Chemical anchors in particular have a specified torque value that the anchor manufacturer publishes. Installing a stanchion over a chemical anchor and tightening it by feel is not the same as tightening it to specification. If your balustrade is ever subject to a load event — a child hanging off the rail, a guest leaning hard on a corner post — the anchor performance depends on it having been installed correctly.
A basic click-type torque wrench with a 0–50 Nm range covers the majority of residential balustrade anchor sizes and is a worthwhile addition to any serious DIY toolkit.
Tools You Can Hire for a Once-Off Project
Hole Saw (38.1mm or 50.8mm)
Some fitting styles require the infill tube to pass through a hole cut in the stanchion face rather than sitting in a pre-drilled bracket. If your chosen stanchion and fitting configuration uses this approach, you will need a hole saw matched to your tube diameter — 38.1mm for 38.1mm tube, 50.8mm for 50.8mm tube.
Balustrader’s stanchions are supplied pre-drilled for your chosen infill type — the holes for round tube, cable, or any other infill are already in the post when it arrives. There is no cutting, drilling, or fabrication required to the stanchions themselves on site. This is one of the features that makes the system genuinely DIY-accessible: your angle grinder is used to cut infill tube to length, not to modify the posts.
Hydraulic Cable Crimper — Hire or Buy from Balustrader
If your project uses cable infill, you will need a hydraulic cable crimper. This tool presses swage fittings permanently onto the wire rope ends, creating the mechanical connection between the cable and the tensioner or end terminal. It is the only method of cable termination that produces a connection strong enough to meet the load requirements of SANS 10400-M.
For a single cable installation, hiring is the sensible route. Balustrader offers the hydraulic crimper for hire or purchase directly — contact the team when placing your cable component order and they will advise on the right option for your project scale. A crimper purchased from a general tool retailer may not be calibrated for the specific swage fitting dimensions used in stainless steel cable balustrade systems, so sourcing through Balustrader is the straightforward choice.
Cable Tension Gauge
Once cable is installed and tensioned, a cable tension gauge confirms that the wire rope tension falls within the range required to maintain the maximum 100mm infill gap under load, as specified in SANS 10400-M. Over-tensioned cable can introduce unwanted lateral force into the stanchion posts. Under-tensioned cable will exceed the infill gap requirement under any significant horizontal load.
A tension gauge is a hire-only tool for most residential projects. Your cable fitting supplier documentation will specify the target tension range — bring that figure with you when you collect the gauge.
Consumables to Have Ready Before You Start
Consumables are the items that get used up during installation. They are individually inexpensive but running out mid-project is frustrating. Have all of the following on hand before your first stanchion goes in.
- Stainless steel cutting discs — One disc per approximately 15 to 20 cuts, depending on tube wall thickness. Buy more than you think you need.
- Abrasive flap discs — For dressing cut tube ends to a smooth finish. 80-grit for initial dressing; 120-grit for finishing to a brushed appearance.
- Chemical epoxy anchor (or mechanical anchors) — Matched to your anchor bolt diameter and substrate. Epoxy anchors are generally preferred for concrete and masonry balustrade fixings where maximum holding strength is required. Follow the manufacturer’s cure time before applying load.
- Masonry drill bits — Buy at least one spare per size you are using. Masonry bits blunt on hard aggregate and a blunt bit produces an oversize, rough hole that will not anchor correctly.
- Thread seal tape — Used on threaded fittings to prevent galvanic movement and ensure a clean, snug assembly. Small roll, inexpensive, invaluable.
- Marking pencil or chalk — For substrate layout marking. A pencil works on timber; chalk or a silver marker works on concrete and stone.
- PPE — Safety glasses for all grinding and drilling. Work gloves rated for metal handling. Cut-resistant gloves are worthwhile when handling tube ends before they are dressed.
Balustrader stocks a range of consumables and installation hardware that go hand-in-hand with balustrade installation — from cutting and abrasive discs through to chemical anchors and maintenance products. When placing your component order, it is worth checking what you need alongside the structural components so everything arrives together.
A Note on Tool Quality
This is worth saying plainly: a DIY balustrade is a structural installation. The tools you use to install it directly affect the quality and safety of the finished result.
You do not need professional-grade contractor tools for a residential installation. But you do need tools that are in good working order and appropriate for the material. A worn hammer drill that cannot maintain consistent hammer action will produce poor anchor holes. A cheap cutting disc that overheats and deflects will produce ragged tube cuts that are difficult to fit. A torque wrench that has not been calibrated recently may give an inaccurate reading.
If you are hiring tools, choose a reputable hire company that maintains and services its equipment. If you are using your own tools and any of them give you pause, a short hire on a quality replacement is a small cost relative to the overall project.
What You Do Not Need
It is worth being equally clear about what this type of installation does not require, because the perception that balustrade work is the domain of fabricators and welders puts off capable DIY homeowners who could do it themselves without any specialist equipment.
Balustrader’s bolt-down stanchion systems are designed specifically so that no welding is required at any point in the installation. There is no on-site fabrication. The stanchions arrive pre-drilled for your chosen infill tube diameter — the tubes thread through the pre-positioned holes and the entire assembly is mechanically fastened, not welded.
- You do not need — A welder or welding experience of any kind.
- You do not need — A bench grinder, drill press, or workshop lathe.
- You do not need — Specialist fabrication tools or metalworking machinery.
- You do not need — A pipe bender (all standard runs use straight tube).
- You do not need — A concrete saw or disc cutter (anchor holes are drilled, not cut).
What you do need is patience, accuracy, and the willingness to check each step before committing to the next. The tools on this list are well within the reach of any serious weekend DIY homeowner — most of them are probably already in the garage.
Getting Started
If you have reviewed this list and you are confident you have what you need, the next step is getting your component order right. Balustrader’s free DIY Estimate service takes your measurements and project details and returns a confirmed component list with pricing — so you know exactly what to order before you commit.
Reach the team at sales@balustrader.co.za or +27 64 044 1440, Monday to Friday, 08:00 to 17:00. The Brackenfell showroom is open for those who prefer to discuss their project in person before ordering.
| Quick tool checklist before you order components ✓ Hammer drill or SDS drill — in good working order ✓ Angle grinder — with stainless steel cutting and flap discs ✓ Spirit level, 1,000mm or longer ✓ Tape measure, 5m minimum ✓ Torque wrench, 0–50 Nm range ✓ Combination spanners ✓ Chalk line or marking pencil ✓ Chemical anchors and masonry bits — matched to your substrate ✓ Safety glasses and cut-resistant gloves Cable infill only: arrange hydraulic crimper hire or purchase through Balustrader before your installation date. |


