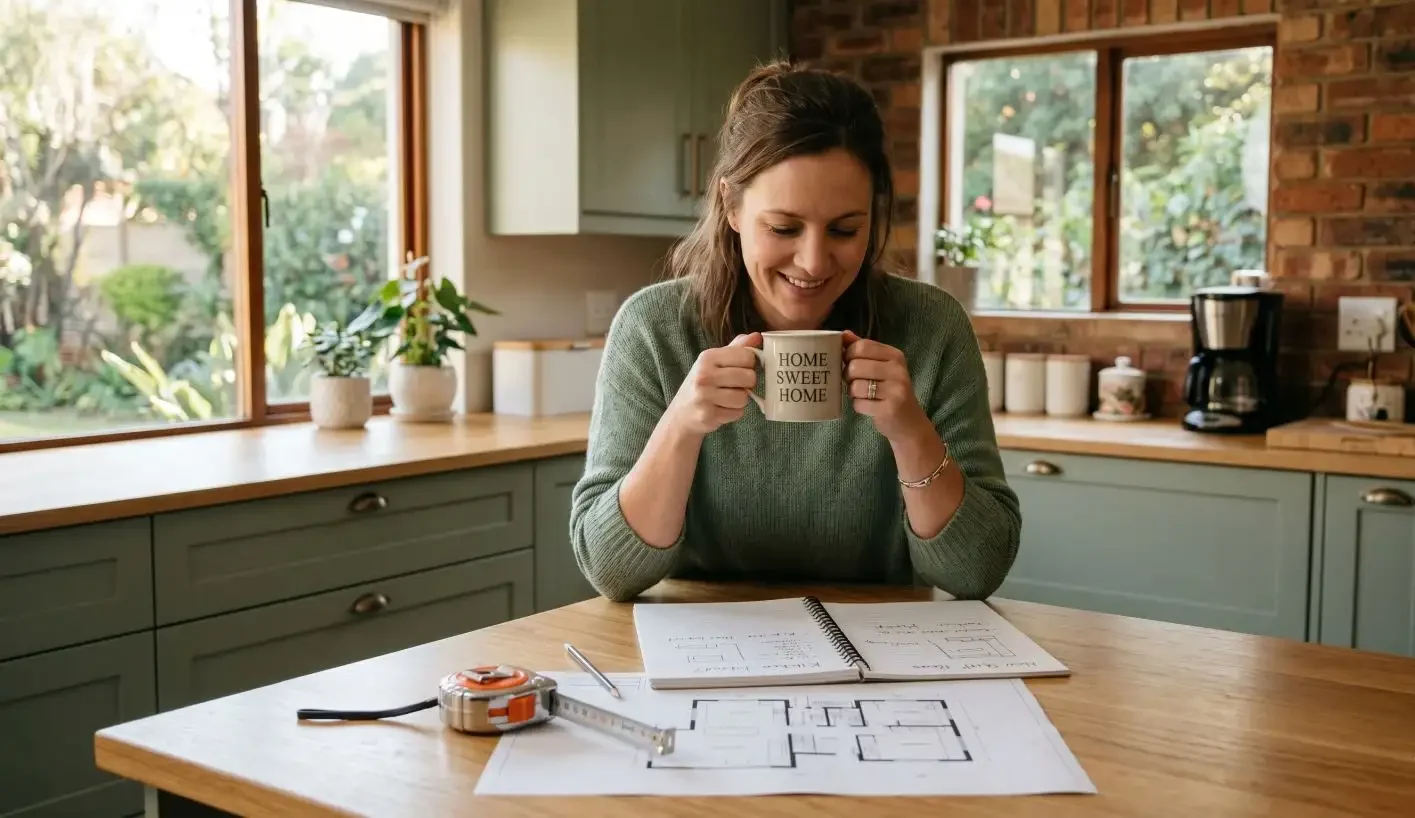
A well-planned balustrade project is a successful balustrade project. The installation itself — drilling, bolting, fitting tubes — is the straightforward part. It’s the decisions that come before the installation that determine whether your project runs smoothly or hits costly complications.
This guide is your starting point. Whether you’re installing a deck balustrade, a staircase handrail, a pool fence, or all three at once, work through each step in order and you’ll arrive at your first Balustrader order with complete confidence.
Step 1: Define the Scope of Your Project
Before you measure a single thing, get clear on exactly what you’re installing. Walk the full perimeter of your planned balustrade and ask yourself:
- How many separate straight runs does the balustrade consist of?
- How many corners are there, and at what angle does each corner turn?
- Does the balustrade include any staircase sections?
- Is there a gate or access point required at any position?
- Does the balustrade connect to any existing walls, posts, or structures?
- Is any part of the balustrade adjacent to a pool or body of water?
Draw a simple overhead sketch of the full balustrade line, marking every run, corner, gate, and termination point. This sketch becomes the foundation of your entire project plan — it doesn’t need to be to scale or technically precise.
Step 2: Choose Your Infill Style
Your infill style determines the visual character of your balustrade and influences your component list, budget, and in some cases your compliance approach.
Round tube infill
Horizontal stainless steel tubes pass through pre-machined holes in the stanchion posts. This is the most cost-effective and most commonly installed style — clean, contemporary, and fully SANS 10400-M compliant when installed with correct tube spacing.
Glass panel infill
12mm toughened glass panels captured in slotted tube frames. Premium aesthetic, fully open views, higher cost. Requires a glazier to cut panels to your specifications. Ideal for properties with significant views or high-end design requirements.
Cable infill
Stainless steel cables tensioned between stanchion posts. A distinctive, contemporary look popular in coastal and architectural settings. Cables require specific stanchion variants with cable-through holes or end fittings.
Choose your infill style before you measure, because different infill systems use different stanchion types — and your stanchion selection determines your entire component list.
Step 3: Select the Right Stainless Steel Grade
This is the most consequential decision in your entire project. Order the wrong grade and you may be replacing corroded components within a few years.
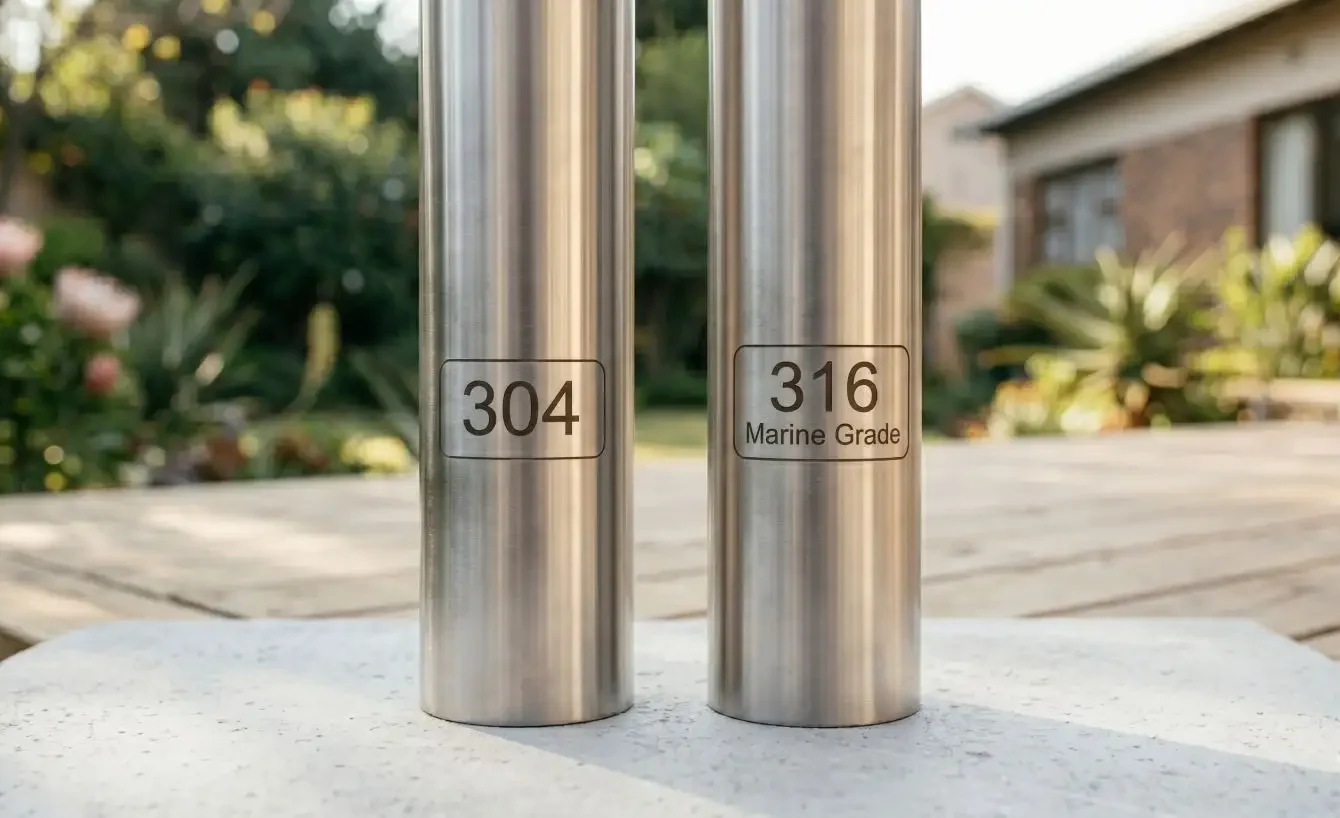
- 304 grade stainless steel — for inland, non-coastal, non-pool applications
- 316 Marine Grade stainless steel — for coastal properties, pool surrounds, and any environment with salt air or chlorine exposure
If you are in Cape Town, on the West Coast, or within approximately 5km of any coastline, specify 316 Marine Grade throughout — no exceptions. For pool fencing anywhere in the country, 316 Marine Grade is also non-negotiable.
Step 4: Understand Your Compliance Requirements
South African building regulations — published and maintained by the South African Bureau of Standards (SABS) — set minimum requirements for balustrade height, infill spacing, and structural performance. Getting these right is not optional.
SANS 10400-M — domestic balustrades
Minimum handrail height of 1,000mm from finished floor or deck surface. No infill opening larger than 100mm (the sphere rule). Structural load resistance of 0.74 kN/m.
SANS 10134 — pool fencing
Minimum fence height of 1,200mm. Self-closing, self-latching gate required. Non-climbable construction — no horizontal elements within the lower 900mm that could serve as footholds.
Building permits
Whether your project requires a building permit depends on your municipality and the nature of the work. New installations generally require a permit; like-for-like replacements may not. In Cape Town, you can apply for a building plan through the City of Cape Town’s Building Development Management portal. Contact your local municipality before starting work — the National Building Regulations Act 103 of 1977 governs what constitutes building work requiring approval.
Step 5: Take Your Measurements
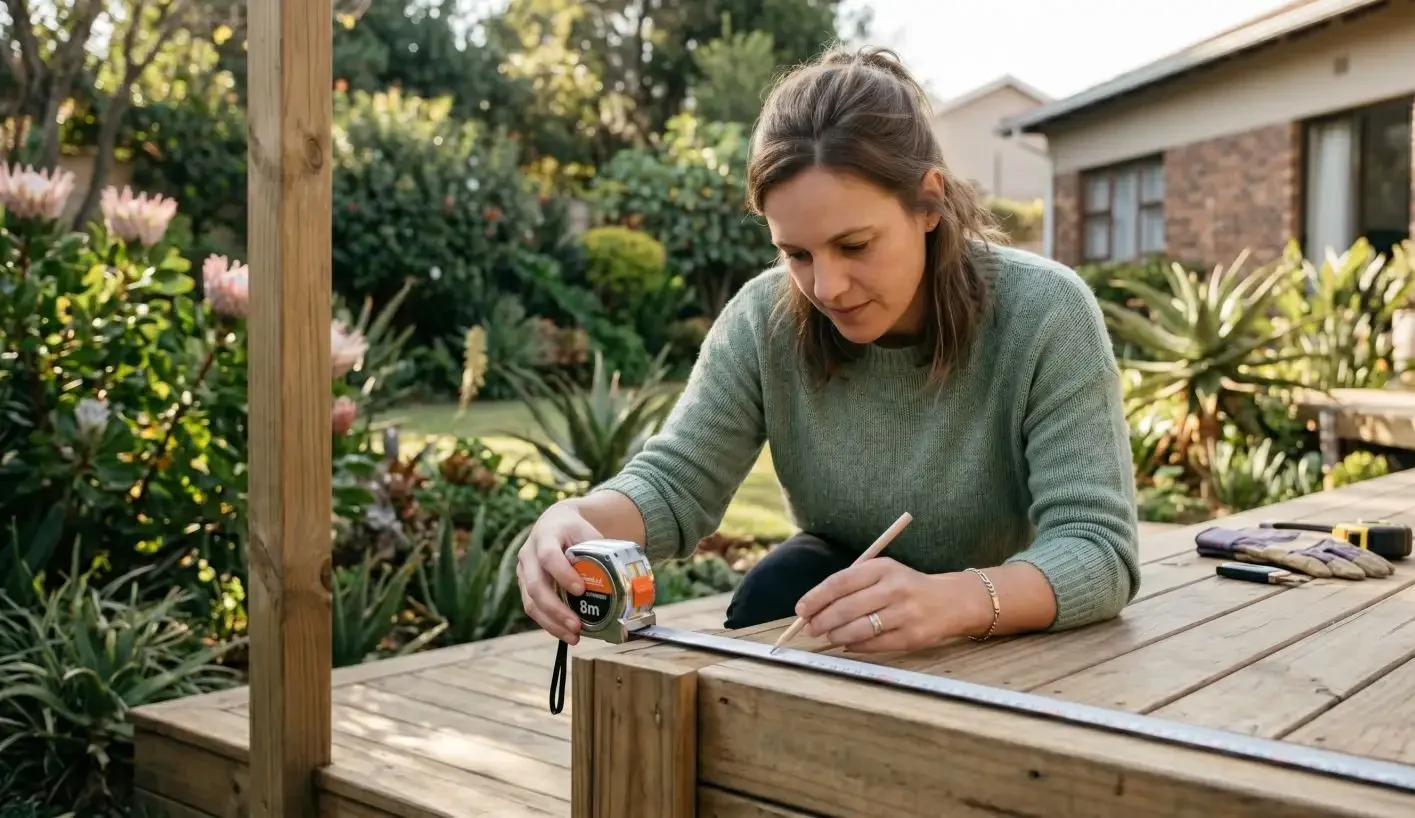
With your scope, infill style, grade, and compliance requirements clear, you’re ready to measure. Key measurements to capture:
- Total linear run length for each straight section
- Number and angle of all corners
- Staircase rake angle and total run length
- Gate opening width if applicable
- Surface type at each fixing point — timber, concrete, or masonry
- Finished floor or deck surface height for compliance checking
Step 6: Set Your Budget
A realistic budget has three components: materials, fixings and consumables, and contingency.
| Budget Item | Guidance |
| Stainless steel components | The largest cost — stanchions, tubing, fittings |
| Fixings | Coach screws (timber) or anchor bolts (concrete/masonry) |
| Consumables | Cutting discs, drill bits, silicone, end caps |
| Contingency | Allow 10% for measurement adjustments and cutting waste |
| Glass panels if applicable | Sourced separately from your local glazier |
Step 7: Submit a DIY Estimate
Before you place a single order, submit your project details to our free DIY Estimate service at www.balustrader.co.za. Our team will review your measurements, confirm your component specification, check your layout against compliance requirements, and produce a complete itemised order list.
Step 8: Order, Prepare, and Install
Once your estimate is confirmed, place your order. Allow 10–15 working days for manufacturing and preparation, plus 2–3 working days for courier delivery. See out guides.
Contact us: sales@balustrader.co.za | +27 64 044 1440 | Mon–Fri 08:00–17:00
Start your project the right way — get a free DIY Estimate at www.balustrader.co.za


