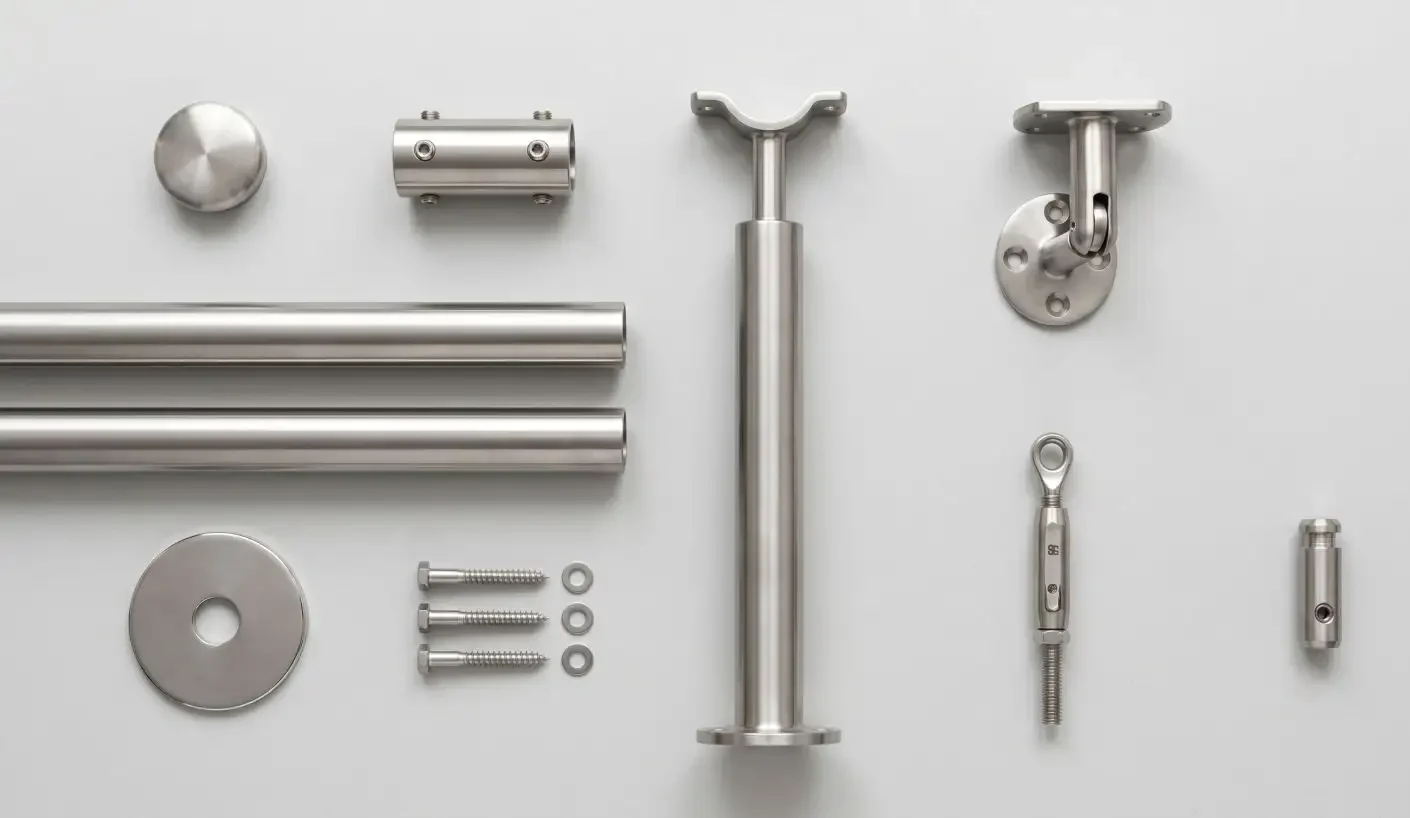
One of the most confusing aspects of planning a DIY balustrade is navigating the range of components involved. Stanchions, infill tubes, cable tensioners, slotted channels, fittings, fixings — the terminology can feel overwhelming when you are approaching it for the first time. Whether you are planning a deck balustrade, a staircase handrail, a pool enclosure, or a balcony railing, the components follow the same logic — and once you understand what each one does, the whole system becomes significantly easier to plan and order.
Stanchions: The Structural Backbone
Stanchions are the vertical posts that form the structural foundation of any balustrade system. They are bolted to the floor, deck, or balcony surface at regular intervals and carry the load of the entire assembly. All Balustrader stanchions are bolt-down — they fix mechanically to the surface without welding or ground embedment, making them suitable for DIY installation.
Standard stanchions are 900mm in height. When a handrail tube is fitted to the top, the finished handrail height reaches 1,000mm or above — the minimum required under SANS 10400-M for most residential balustrade applications.
Stanchions are not universal. Each infill system — tube, cable, and glass — uses stanchions machined specifically for that infill type, and they are not interchangeable between systems. Within each system, four primary variants cover the full range of installation configurations:
Straight stanchions are the standard mid-run post, used at regular intervals along a straight balustrade run.
Corner stanchions are designed for 90° direction changes and in some configurations for other angles, allowing the infill run to turn without requiring a wall fixing or a break in the system.
End stanchions terminate the run where it meets a wall, return, or fixed structure. They are typically used in pairs — one at each end of a run.
Stair rake stanchions are angled to follow the pitch of a staircase, maintaining consistent infill geometry and handrail height across the stair run.
Round Tubing: The Workhorse of the System
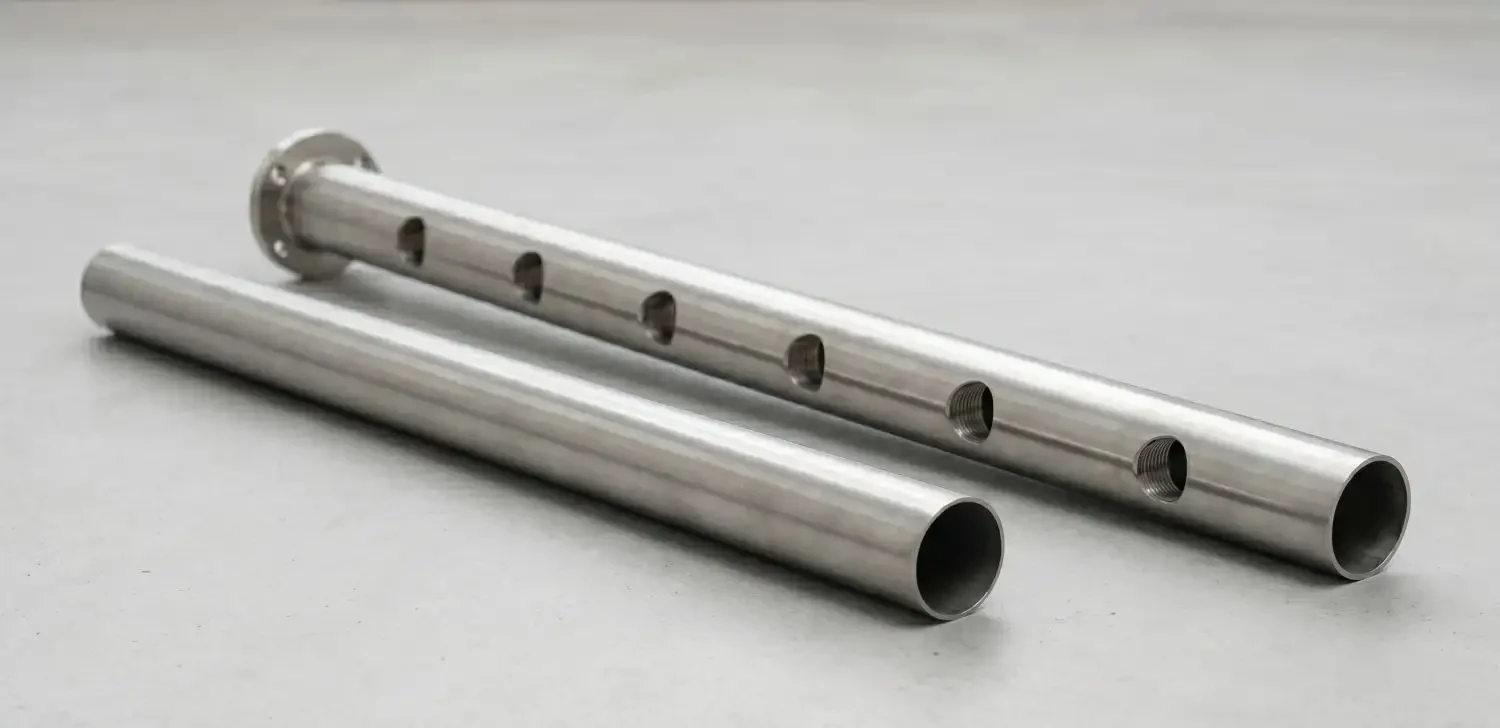
Round stainless steel tubing is the most widely used infill type for residential balustrades in South Africa. It is durable, clean in appearance, and straightforward to install. Two outer diameters cover the vast majority of applications:
50mm is the standard diameter for handrail and primary infill tubes. When ordering, always confirm the exact specification with your supplier — the industry rounds to 50mm, but the true outer diameter is 50.8mm, and that precision matters for fit in machined stanchion holes.
38mm is used for secondary infill tubes and in applications where a lighter visual profile is preferred. The same applies — industry shorthand is 38mm, true outer diameter is 38.1mm.
Round tubing is sold per linear metre and cut to the run lengths required for your project. Cuts are made with a tube cutter or angle grinder, and cut ends should always be deburred for a clean, safe finish.
Slotted Tubing: For Glass Infill Systems
Slotted tubing has a continuous slot machined along its length, designed to capture the edge of a glass panel. In a glass infill system, two horizontal slotted tubes run between the stanchions — one at low level to capture the base of the glass panel, and one near the top to hold the upper edge. The glass sits in the slot and is secured with neutral-cure silicone or clear rubber gaskets.
Slotted tubing is available in the same outer diameters as round tubing. Slot width must match the glass thickness being used — 12mm toughened glass is the standard specification for domestic balustrade applications in South Africa.
Rectangular and Square Tubing
Rectangular and square profiles are used in specific applications — gate frames, certain architectural handrail styles, or feature elements where a square profile suits the design better than round. They are not standard infill components. Rolling these profiles into curved sections is significantly more complex than rolling round tube due to the non-circular geometry. Balustrader’s in-house tube rolling service accommodates rectangular and square profiles on request.
Cable Infill Components
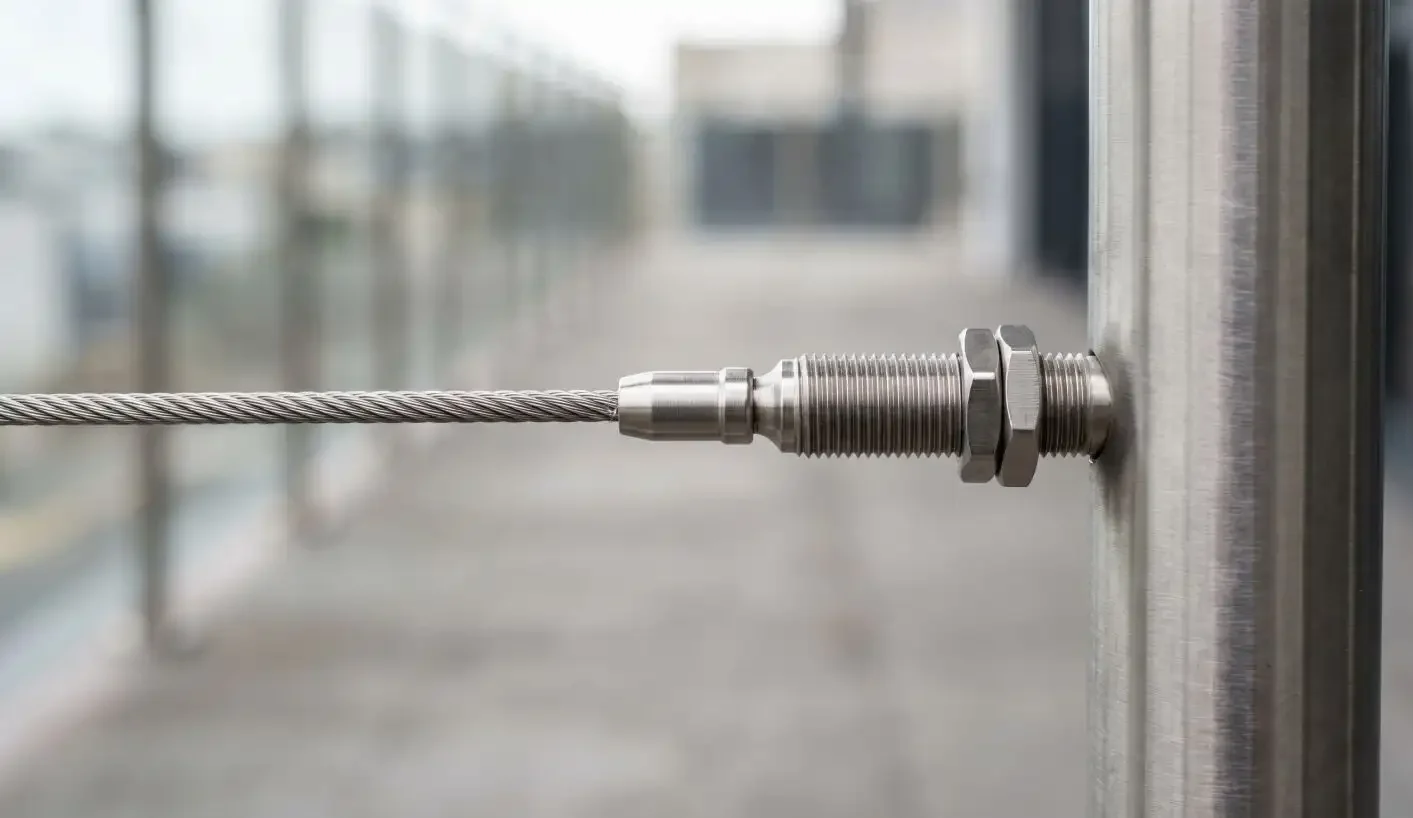
Cable balustrade systems use horizontal stainless steel cables tensioned between stanchions in place of round tube infill. The result is a near-invisible infill profile that preserves views while giving the installation a distinctly contemporary character. The components involved are specific to cable systems and worth understanding before planning.
Stainless steel cable for balustrade applications is available in 4mm diameter. Cable is sold per linear metre — calculate your required length by multiplying the number of cable rows by the total run length, then add 300–400mm per end for termination and tensioning.
Swage tensioners are threaded fittings that attach to the cable at one end of each run and thread into the end stanchion or wall plate. Turning the tensioner draws the cable tight and holds the tension once set. Each cable run requires one tensioner at the tensioning end.
Swage stoppers terminate the far end of each cable run. They are crimped permanently onto the cable end using a swage tool. All tension adjustment happens at the tensioner end — the stopper end is fixed once crimped.
Angle fittings are used where a cable run changes direction at a corner stanchion, allowing the cable to turn cleanly without kinking and maintaining both the appearance and structural integrity of the cable at the corner.
316 Marine Grade stainless steel is the minimum specification for cable components in any coastal or pool environment — and is worth considering for inland cable installations too, given the significantly greater surface area exposed to the elements compared to a tube infill system.
Glass Infill Components
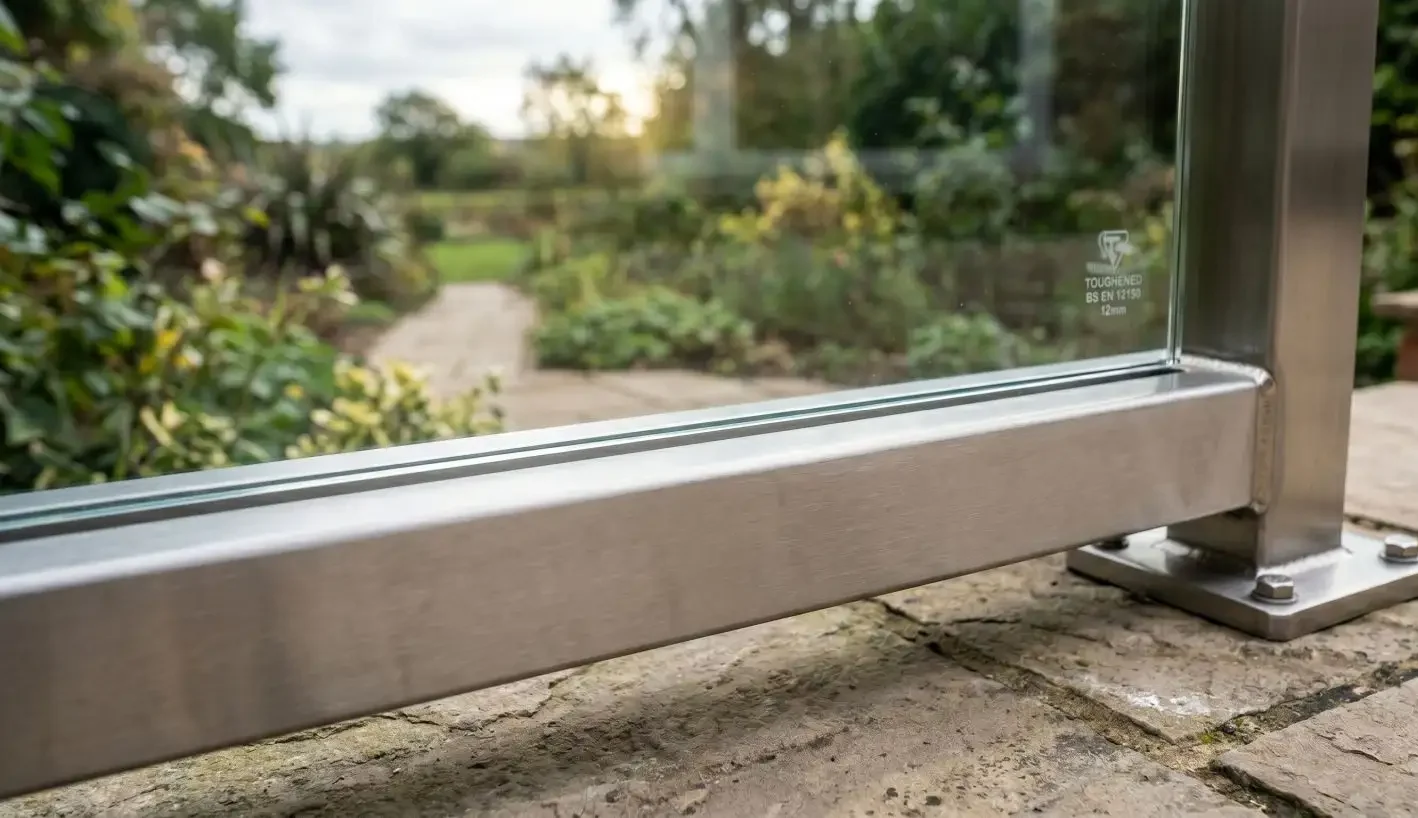
Glass infill balustrades use toughened glass panels as the infill element, either captured in slotted tube channels or held by spigots and clamps in frameless and semi-frameless configurations. The components differ significantly depending on the system.
In a channel or slotted tube system, the glass-specific components are the slotted tubes described above, the neutral-cure silicone or rubber gaskets that secure the glass in the channel, and the toughened glass panels themselves — which must be cut to the exact dimensions of each panel bay.
In a spigot or clamp system, glass panels are held by individual spigots bolted to the surface or by side-mounted clamps, with no continuous channel. These systems create the true frameless appearance and require spigots and clamps specified precisely for the glass thickness and the structural load requirements of the installation.
Fittings: Finishing the System
Fittings are the smaller components that complete, connect, and finish a balustrade installation. They are straightforward in function but easy to overlook during planning — and easy to be caught short on during installation.
End caps fit to the open ends of cut tubing, providing a clean finished appearance and preventing moisture ingress into the tube interior. Available for all standard tube diameters and in matching finishes.
Coverplates and flanges sit at the base of each stanchion, covering the fixing bolts and base plate for a clean, finished appearance at floor level.
Handrail brackets connect handrail tube to the tops of stanchion posts, and separately, to walls where a handrail runs along a staircase wall or corridor without stanchions. Post-mounted brackets secure the handrail tube to the stanchion head; wall-mounted brackets are available in several projection depths to suit different wall-to-handrail distances.
Tube connectors join two tube lengths end-to-end in long runs that exceed standard tube lengths. An internal sleeve fits inside both tube ends and is secured with set screws, creating a continuous, flush run.
Fixings: What Anchors the System
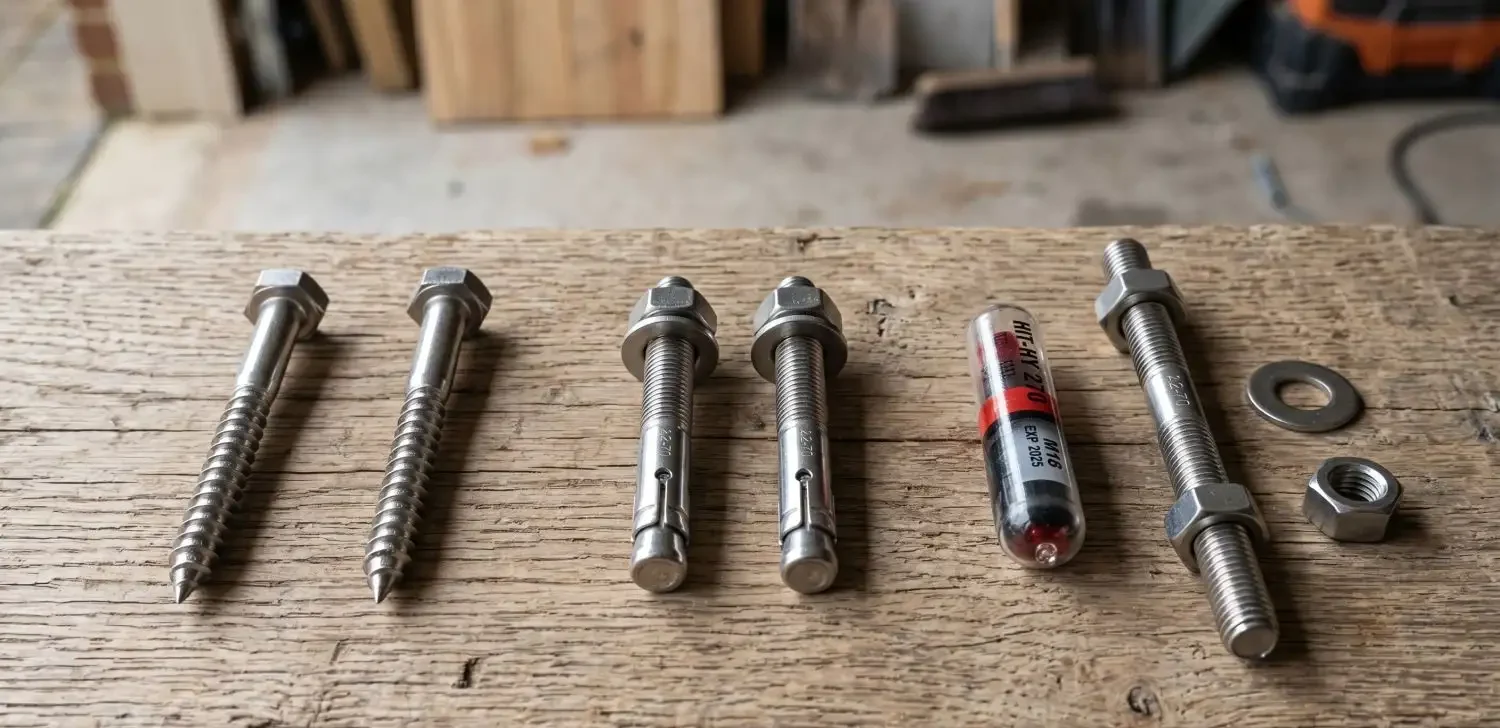
The fixings that secure stanchions to the surface are arguably the most structurally critical components in the entire installation. An incorrectly specified or undersized fixing is the most common cause of balustrade failure under load. The correct type depends on the substrate:
Timber deck: stainless steel coach screws driven into the structural deck frame — not into the decking boards themselves. The fixing must reach the structural timber below the surface boards.
Concrete or masonry: stainless steel anchor bolts, either mechanical (torque-set expansion anchors) or chemical (resin anchors). Chemical anchors are preferred where the concrete is hollow-core or where edge distances to the slab perimeter are tight.
Tiled or screeded balcony: chemical anchors drilled through the tile and screed layer into the structural slab beneath. The screed layer alone is not a structural fixing substrate — the anchor must reach and engage with the slab.
All fixings for outdoor balustrade applications must be stainless steel. Electro-galvanised or zinc-plated fixings will corrode in outdoor environments, eventually compromising both the appearance and the structural integrity of the installation.
How It All Fits Together
At its most fundamental level, a balustrade installation is built from three core elements: stanchions bolted to the surface, infill fitted between them, and a handrail along the top. Every other component — fittings, fixings, sealants, caps, tensioners — exists to complete, connect, or protect those three elements.
Understanding what each component does before you start planning makes the whole process significantly more manageable. You stop seeing a list of unfamiliar parts and start seeing a logical system where each piece has a clear job. When you submit your project to our free DIY Estimate service, our team maps your specific layout — dimensions, substrate, infill type, and corner configuration — to the exact components required, so there is no guesswork on quantities and no missing parts when installation day arrives.
Browse the full component range and request your free DIY Estimate at www.balustrader.co.za Contact: sales@balustrader.co.za | +27 64 044 1440


