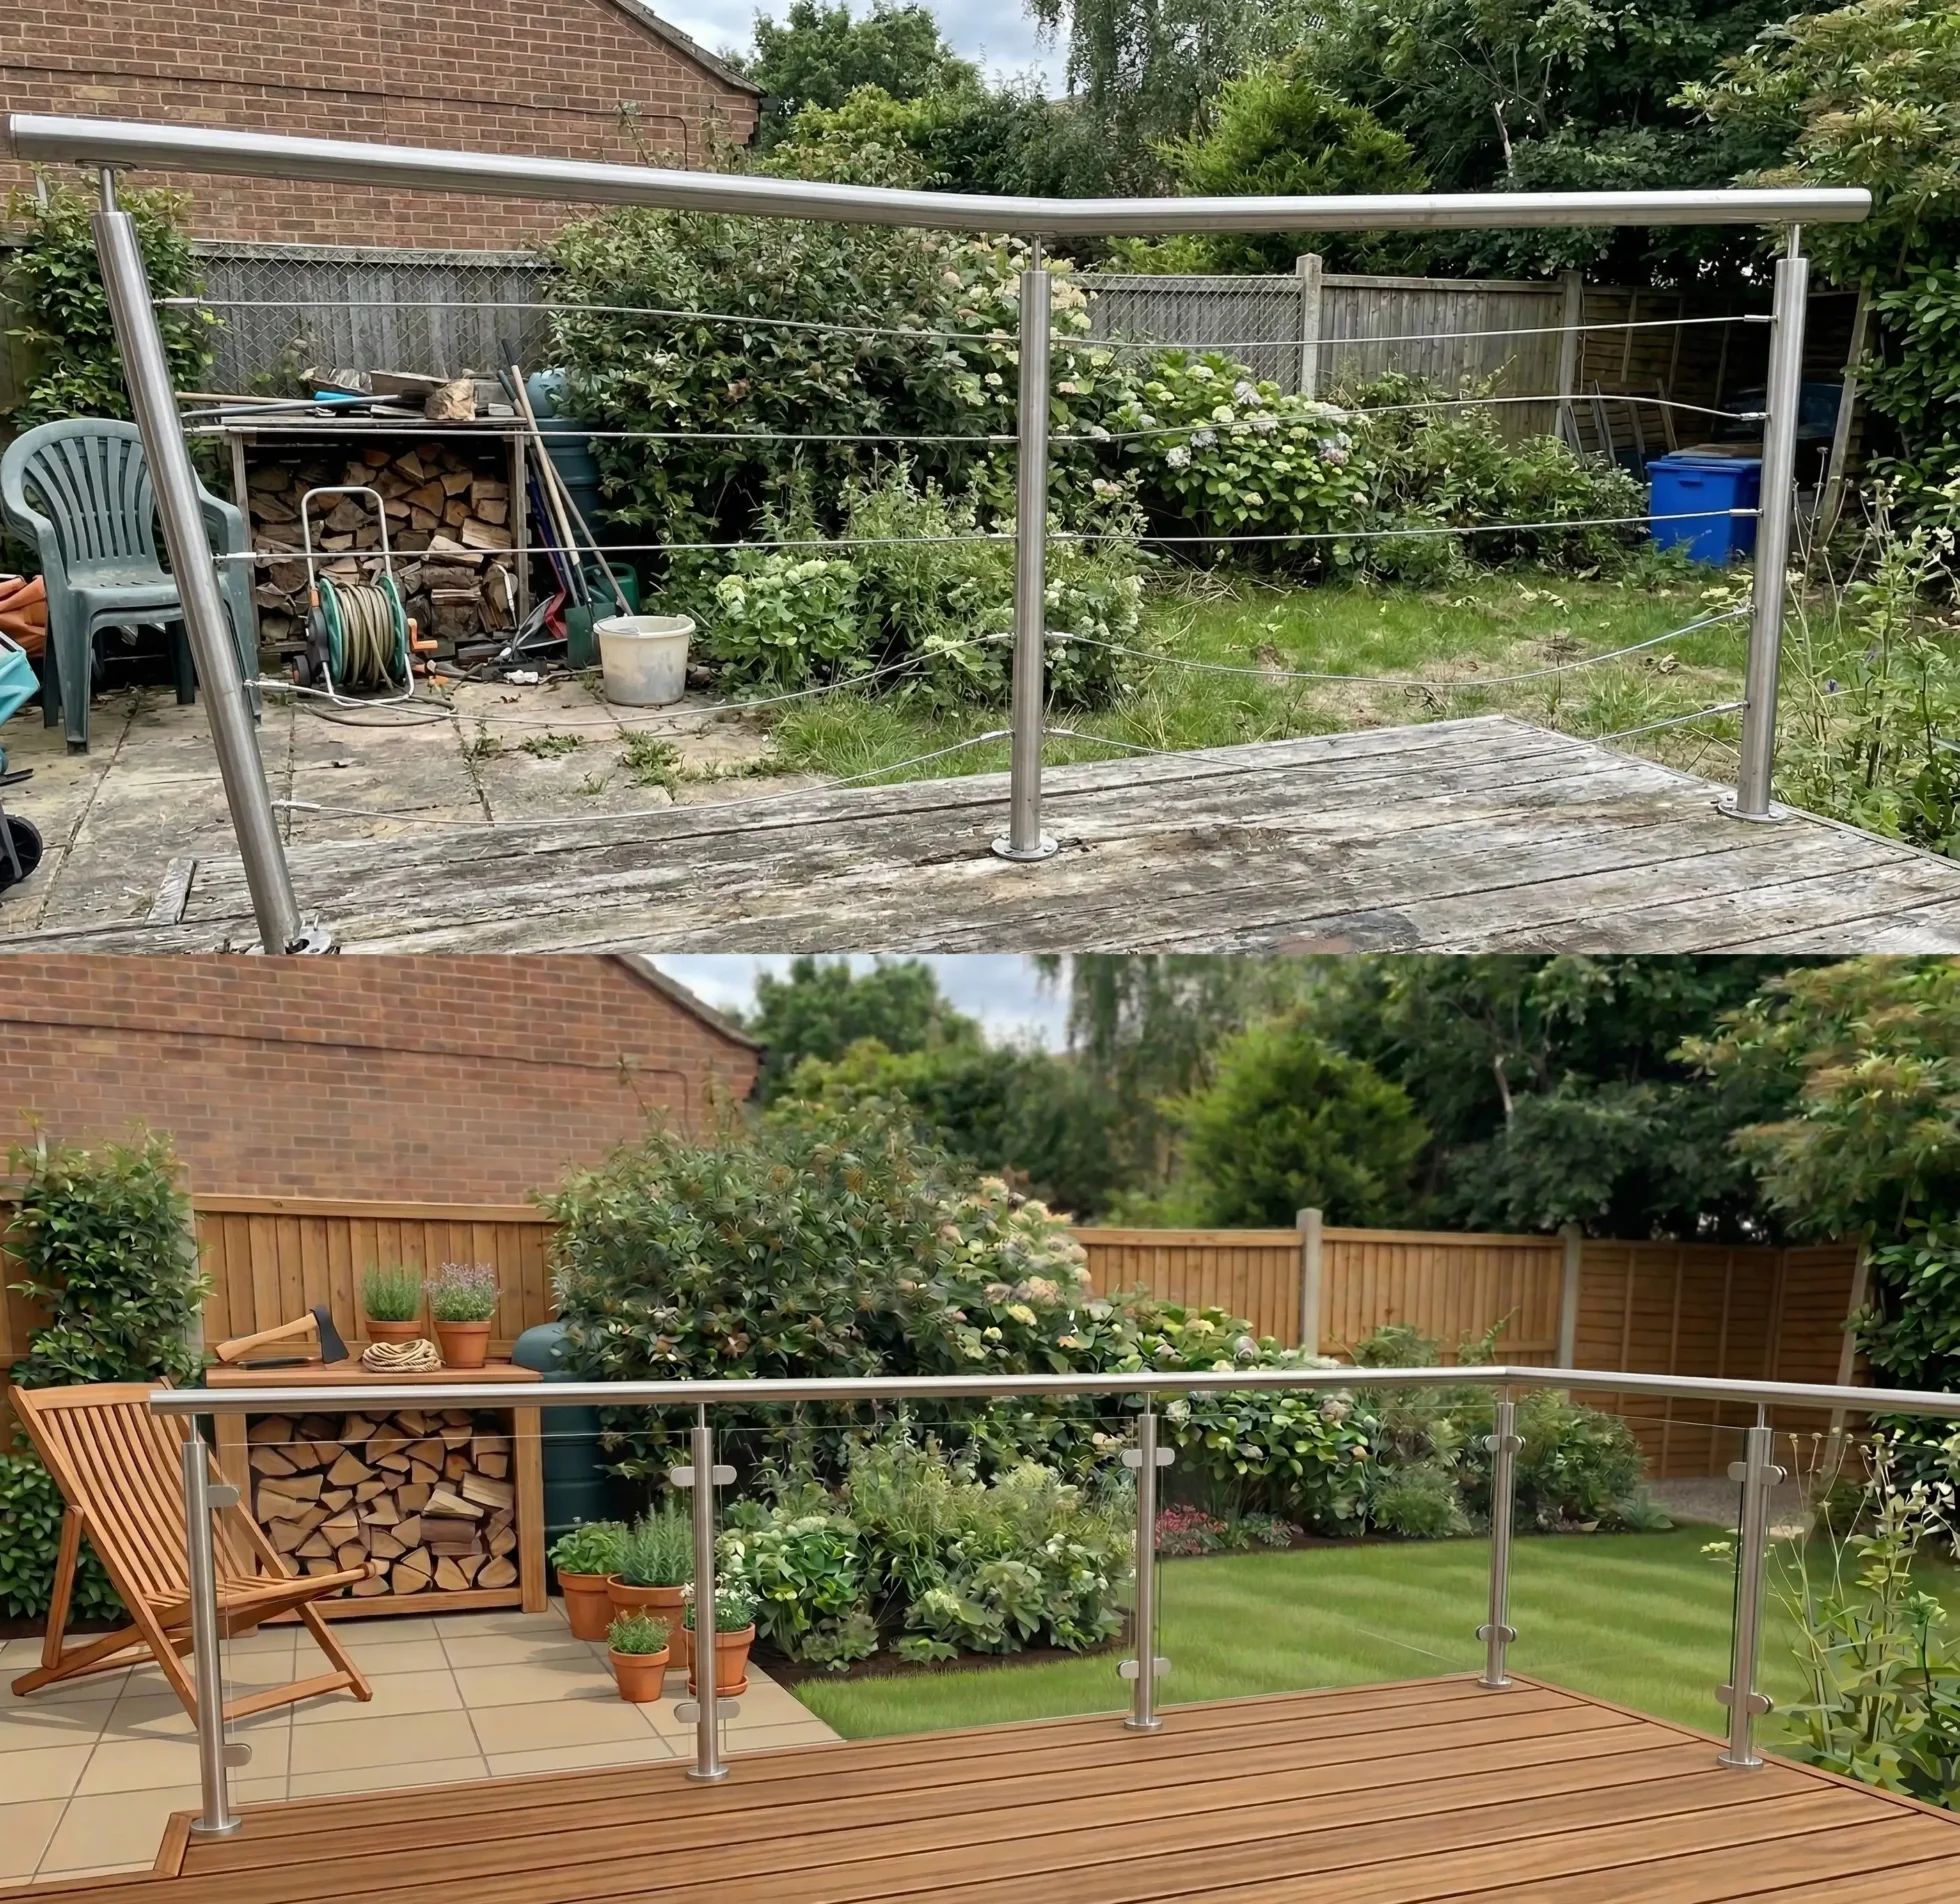
After more than 15 years of supplying stainless steel balustrade components to DIY homeowners across South Africa, we’ve seen the same mistakes made repeatedly. Most of them are entirely avoidable with a little foreknowledge — which is exactly what this guide provides.
None of these mistakes are a sign of incompetence. They are simply the things that trip up first-time installers who haven’t been told what to watch out for. Read this before you start your project and you’ll be well ahead of the curve.
Mistake 1: Ordering the Wrong Stainless Steel Grade
This is the most expensive mistake on the list. Ordering 304 grade components for a coastal property — or a pool surround anywhere in the country — is a false economy. Within a few years, 304 in a high-chloride environment will develop pitting corrosion and surface rust staining that cannot be cleaned away. The only remedy is replacement.
The fix: If you are within approximately 5km of the ocean, in a direct sea-breeze corridor, or installing around a pool, always specify 316 Marine Grade. When in doubt, upgrade. The cost difference between 304 and 316 is modest compared to the cost of replacement.
Mistake 2: Measuring the Run But Not the Stanchion Count
A surprisingly common mistake is measuring the total linear run correctly but calculating the stanchion count incorrectly. The classic error: dividing run length by stanchion spacing and forgetting to add the end stanchion. An 8-metre run at 1,000mm spacing requires nine stanchions, not eight. Arriving on installation day short by one stanchion means an unfinished project and a delay.
The fix: Always use the formula: (run length ÷ spacing) + 1 = stanchion count. Then add corner and end stanchions separately. Or simply use our DIY Estimate service and let us do the counting for you.
Mistake 3: Not Checking Plumb at Every Stanchion
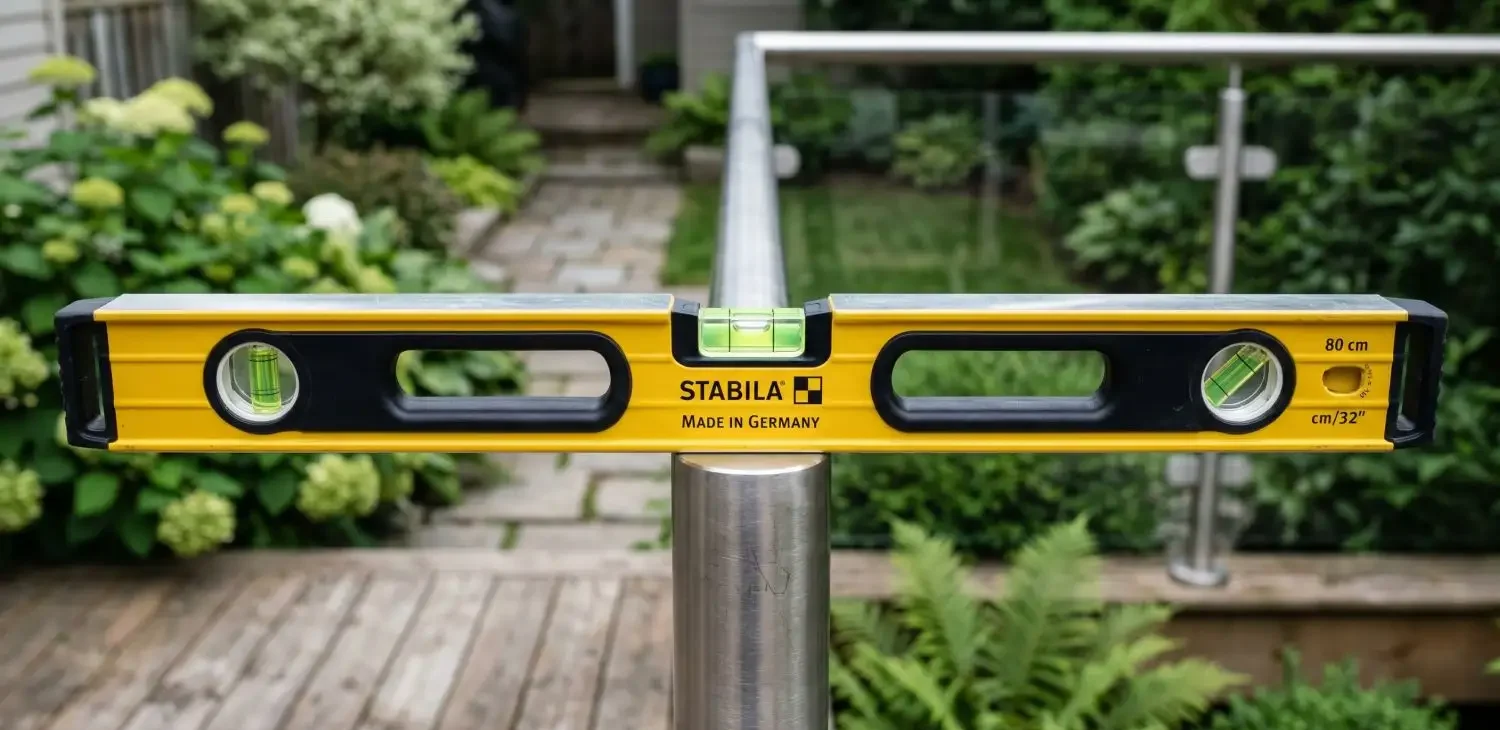
A stanchion that is one or two degrees off vertical looks fine on its own. But over a run of ten stanchions, cumulative alignment errors become clearly visible — especially once the infill tubes are fitted and draw the eye along a horizontal line. A slightly leaning stanchion immediately reads as amateurish, even if everything else is perfect.
The fix: Use a spirit level on every single stanchion, in two directions (along the run and perpendicular to it). Check plumb again after fully tightening the fixing bolts, as the stanchion can shift slightly during tightening. Do not move on until each stanchion is perfectly vertical.
Mistake 4: Over-Tightening Fixings Into Timber
When fixing stanchion base plates into timber decking, it is tempting to tighten as firmly as possible for maximum security. Over-tightening coach screws into timber can split the deck board, strip the thread in softer timbers, or crush the wood fibres beneath the base plate — reducing rather than increasing holding strength.
The fix: Tighten to firm and snug, not maximum torque. Pre-drill to the correct diameter. If you are fixing into hardwood decking, use the correct drill bit size — too small a pilot hole will cause splitting. Always fix into the structural frame beneath the decking boards, not just the surface boards.
Mistake 5: Cutting Tube Without Deburrring
When you cut stainless steel tube with an angle grinder or tube cutter, the cut end has sharp burrs and potentially jagged edges. Fitting a tube with a sharp, unfinished cut end into a stanchion hole or leaving it exposed as a handrail end is both a safety hazard and visually unfinished.
The fix: After every cut, deburr the end with a file or fine flap disc. The process takes thirty seconds per cut and makes a significant difference to both the appearance and safety of the finished installation. Fit stainless steel end caps to all exposed tube ends.
Mistake 6: Ignoring the Sphere Rule
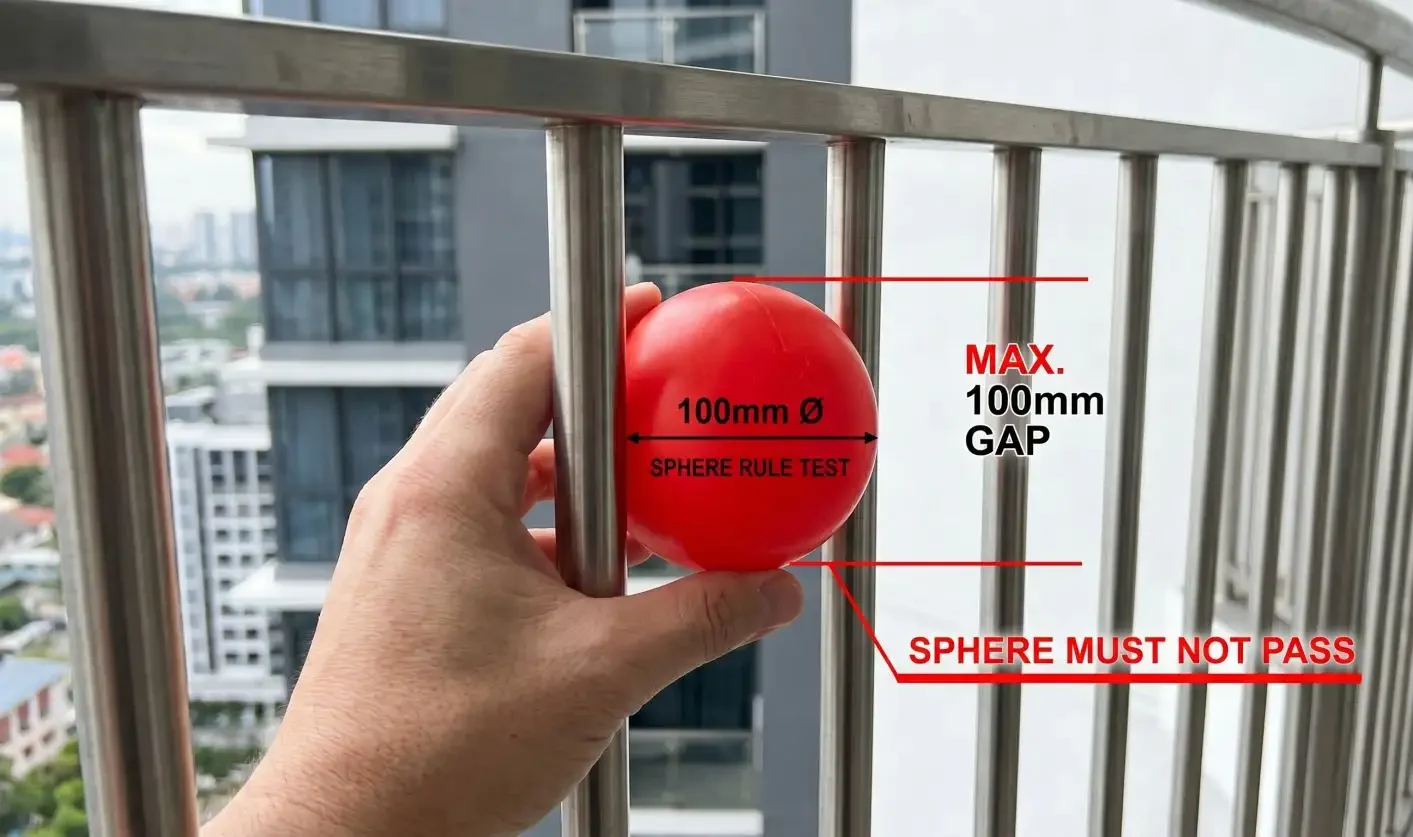
SANS 10400-M and SANS 10134 both require that no opening in the balustrade infill allows a 100mm sphere to pass through. Homeowners who space their infill tubes by eye, or who use a round number like 100mm as their target spacing, frequently end up with gaps just over the compliant limit.
The fix: Calculate your infill tube spacing before ordering, using the actual outer diameter of your chosen tube size. For 38.1mm tube, a centre-to-centre spacing of 130mm gives a clear gap of approximately 92mm — comfortably within the 100mm limit. Have your calculations confirmed by our team before you fix anything permanently.
Mistake 7: Skipping the String Line
Attempting to align a run of stanchions by eye — even with a spirit level on each one — almost always results in a slightly wavy horizontal line when viewed from the end. The human eye is remarkably good at detecting even small deviations in what should be a perfectly straight line.
The fix: Always run a string line from your first stanchion to your last before fitting any intermediate stanchions. Set the string at the exact finished handrail height. Every intermediate stanchion is then positioned against the string line, not against the previous stanchion.
Mistake 8: Using the Wrong Silicone for Glass Infill
For glass panel infill systems, the silicone sealant used to secure the glass in the slotted tube frame must be neutral-cure, not acetoxy-cure (the vinegar-smelling type). Acetoxy silicone releases acetic acid as it cures, which can cause staining and discolouration on stainless steel surfaces.
The fix: Always use neutral-cure silicone for any application involving stainless steel. It is slightly more expensive than standard acetoxy silicone but is the only appropriate product for this application. Check the product label — it will state ‘neutral cure’ explicitly.
Mistake 9: Not Accounting for the Rake on Staircases
Homeowners installing staircase handrails sometimes measure the stanchion height vertically rather than perpendicular to the stringer — or forget that the SANS 10400-M handrail height requirement is measured vertically from the stair nosing, not along the slope. The result is a handrail that is either too high or too low at one end of the staircase run.
The fix: Read our dedicated staircase handrail installation guide and use a digital angle finder to determine your exact rake angle before ordering. Have your staircase configuration reviewed by our team via the DIY Estimate service.
The Single Best Way to Avoid All of These Mistakes
Use our free DIY Estimate service before ordering a single component. Our team has seen every one of these mistakes — and many more — and our estimate process is specifically designed to catch them before they become your problem. Submit your measurements and project details at www.balustrader.co.za and we’ll review everything before you spend a rand.
Avoid costly mistakes — get your free DIY Estimate reviewed at www.balustrader.co.za


