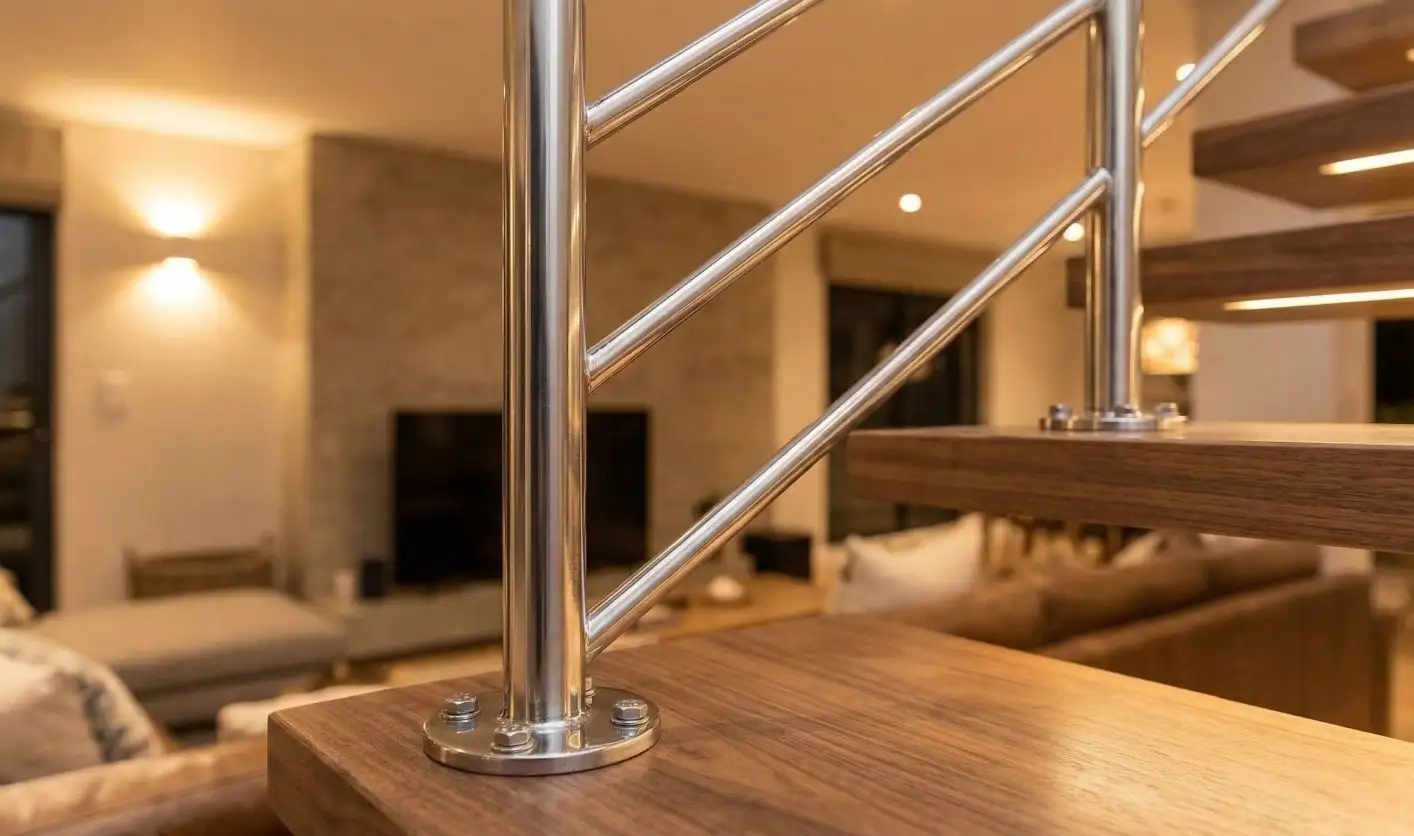
A staircase handrail is one of those home improvement projects that looks technical from the outside but is very manageable once you understand the principles involved. The key difference between a staircase installation and a flat deck balustrade is the rake angle — the handrail and infill must follow the pitch of the stairs rather than running horizontally.
With Balustrader’s bolt-down stanchion system, this is entirely achievable without any welding, fabrication experience, or specialist trade skills. Here’s how.
Understanding the Rake Angle
The rake angle is the angle at which the staircase rises. Most domestic staircases have a rake angle of between 30° and 42°. The exact angle of your stairs determines the angle at which your stanchions must be installed and the angle to which your handrail tube must be cut at each end.
The simplest way to determine your rake angle is to use a digital angle finder (available at most hardware stores for under R300) placed along the stringer or tread nosings of your staircase. Note this angle — you will need it when ordering and when cutting your handrail.
SANS 10400-M Requirements for Staircase Balustrades
The relevant requirements for staircase balustrades under SANS 10400-M are:
- The handrail must be between 800mm and 1,000mm measured vertically from the stair nosing to the top of the handrail
- The balustrade must be capable of withstanding a horizontal force of 0.74 kN/m (this is a structural consideration — our bolt-down stanchions with correct fixing specification meet this requirement)
- Infill openings must not allow a 100mm sphere to pass through — this is important when calculating your infill tube spacing
- On stairs accessible to children under five, additional guarding requirements may apply — speak to your local building authority if this applies to your installation
Stanchion Placement on Stairs
Unlike a flat deck balustrade where stanchions sit vertically on a level surface, staircase stanchions must be positioned at an angle to account for the rake. There are two approaches:
Approach 1: Angled base fixing
The stanchion is fixed at an angle to the stringer (the sloped side beam of the staircase) or to the tread itself. The stanchion remains plumb (vertical), but its base fixing plate is at the rake angle. This is the most common approach for timber staircases where fixings go into the stringer.
Approach 2: Vertical fixing on tread
The stanchion is fixed vertically through the stair tread itself, typically at the nosing. This gives a very clean look but requires that the tread has sufficient structural depth to take the fixing. Not all staircases are suitable for this approach.
Unsure which approach is right for your staircase? Our team can advise based on your staircase type and the photos you share with us via our DIY Estimate service.
Step-by-Step Staircase Installation
- Measure your total stair run — the horizontal distance from the bottom riser to the top riser — and the total number of stair treads.
- Determine your stanchion spacing, typically one stanchion every two to three treads depending on the tread depth and the total run length. Mark positions on the stringer or tread.
- Drill fixing holes at each stanchion position, taking care with depth and angle on angled stringer fixings.
- Install the bottom stanchion first and the top stanchion second. Run a string line along the top of these two stanchions — this string line should be parallel to the rake angle and will serve as your alignment reference for all intermediate stanchions.
- Install intermediate stanchions, using the string line to ensure all handrail caps align perfectly.
- Measure and cut your handrail tube. The ends of the handrail will need to be cut at the rake angle — the same angle as your staircase pitch — for a clean join against the wall or newel post at top and bottom.
- Fit the handrail to the stanchion caps, working from the bottom up.
- Fit infill tubes or panels between stanchions, checking the 100mm sphere rule compliance.
- Check all fixings, clean the installation, and measure handrail height compliance.
The Most Common Mistake on Staircase Installations
The most frequent error we see is homeowners installing the stanchions plumb (vertically) but forgetting to account for the rake when measuring handrail height. Remember: SANS 10400-M requires handrail height to be measured vertically from the stair nosing, not along the rake. Double-check this measurement at both the top and bottom of the run, as slight variations in tread height can cause the handrail height to drift outside tolerance over a long staircase.
Need Tube Rolled for a Curved Handrail?
If your staircase turns a corner or has a spiral section, your handrail tube will need to be rolled to the required curve radius. Balustrader offers tube rolling and fabrication from our Cape Town workshop. Contact us with your radius requirements and we can quote accordingly.
Get Started with a Free DIY Estimate
Submit your staircase measurements and photos via our DIY Estimate service at www.balustrader.co.za and we’ll produce a full component list, specification, and price estimate for your staircase handrail project. Our team is available on +27 64 044 1440 or at sales@balustrader.co.za.
Get your free staircase handrail estimate at www.balustrader.co.za


